I've turned the beads I make into jewellery, some for me, some for friends and family and some I sell. One place I sell them is at Bird's Yard in Sheffield and recently they shared some of the process on their Facebook page for customers to see. I thought I'd use this and add some extra hints and tips to share with my blog readers too. There aren't as many photos as one of my usual tutorials but there are lots of them out there on the internet if you need more details!
Making Paper Beads
Things you'll need:
- various papers
- scissors
- quilling tool
- cocktail sticks
- wet glue which dries clear (I use PVA)
- a brush to use with the glue
- cardboard
Tips
Paper - the length, width and thickness of the paper you use will result in different shape and size bead. Have fun experimenting with different ones. I use papers upcycled from old books and maps.Quilling tool - I use whichever quilling tool I pick up first! If you don't have a quilling tool (they're quite inexpensive in craft shops) you can use a cocktail stick to roll the paper round.
Glue - a good quality PVA glue will hold the beads in place and dry clear. It will also coat the beads to make more durable and water resistant (I've worn bracelets in the rain and they've come out fine!). Obviously don't get the beads soaking wet.
Cardboard - I use lengths of card folded and stood up (see the pictures below) to stand the beads on to dry. Any card will do. Do this before you start making the beads.
Step 1
The paper I use here are pages from an old comic annual which was worse for wear. I chose decent pages to upcycle, although this is a good way to use up damaged pages as the paper is rolled up (try some first to make sure the finished bead looks good).Cut the paper into strips which taper down like long triangles. These strips are about 1cm wide by 25cm long.
 |
| Strips of paper cut up to make beads with |
Step 2
Put the thicker end of the paper in the quilling tool or at place it in the middle of a cocktail stick. Roll down the length of the paper until you reach the thinner end. Put some glue on this end to and stick it down onto the rolled up bead. If you're using a quilling tool take the bead off of this (carefully so it doesn't unravel) and transfer it to a cocktail stick. Coat the whole bead in glue.Place the wet bead onto the card holders you've made so it can dry without touching anything.
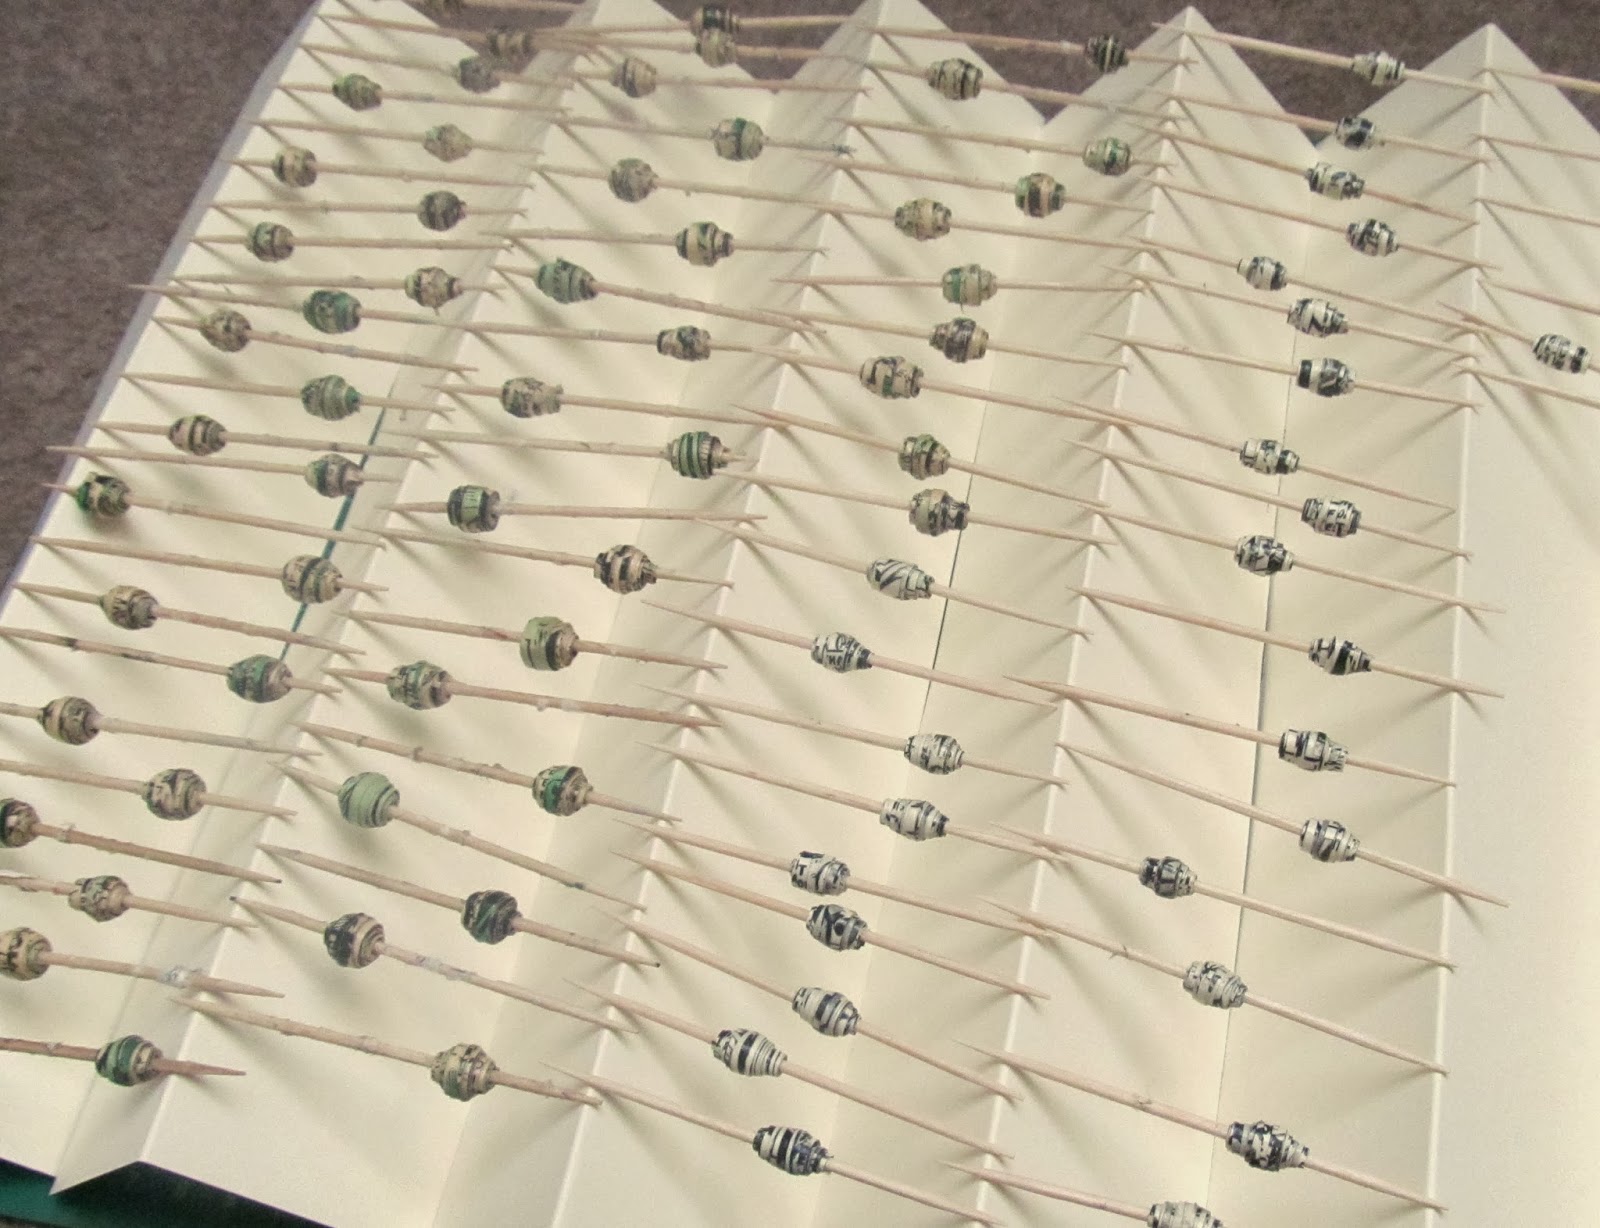 |
| Lots of paper beads coated in glue and left to dry. |
Step 3
When the bead are dry (I usually leave them overnight) they'll be harder and stay in place. Take them off the cocktail stick and they're ready to use!Turning Paper Beads into Jewellery
I like to use upcycled papers to make my paper beads so to continue the theme I use plastic, metal or wooden beads I rescue from broken jewellery to create my pieces. Whenever I find some broken jewellery I take the beads and save them in little packets so I have a choice of colours, sizes and textures ready for when I need them.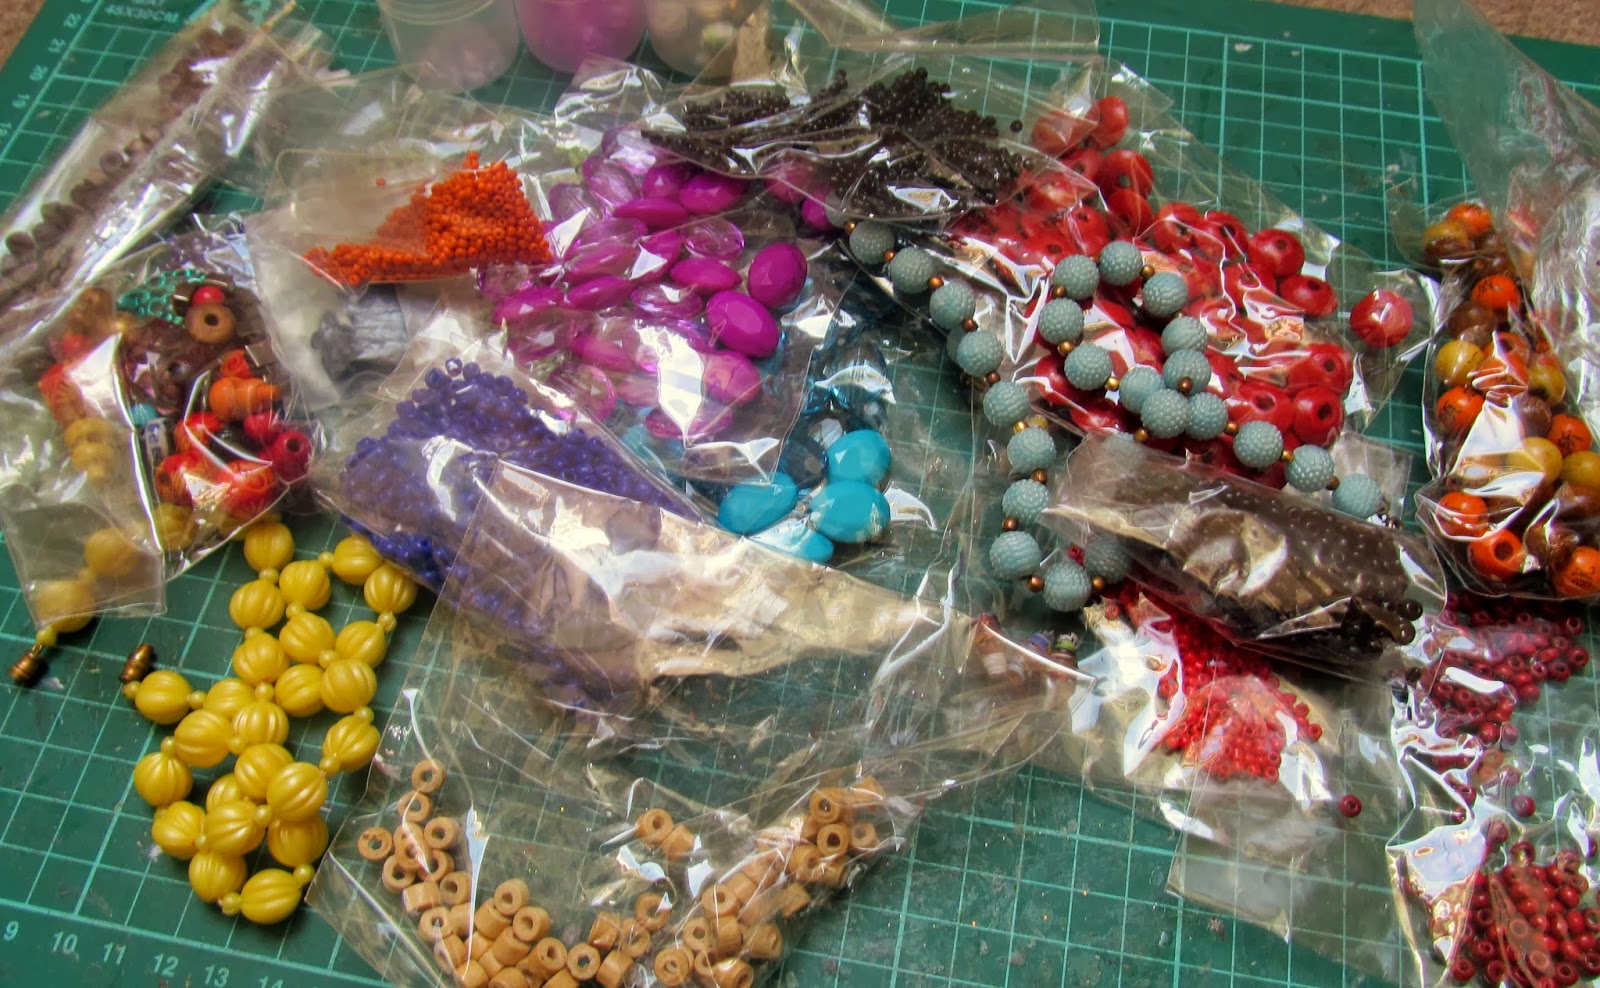 |
| Some of my collection of rescued beads. |
It's important to use new findings (clasps, earring hooks, wires etc) when making jewellery with upcycled beads. You need to make sure they're good quality, work well and are hygienic. I use gold or silver plated findings in my pieces.
You'll also need some tools to help manipulate the findings. I use a pair of jewellery making pliers with cone shaped ends which can bend and flatten metal and a pair which cut wires. There's lots of information about jewellery making on the internet and in craft shops if you want to find out more. I am no expert on jewellery making! I found out by trial and error and looking online and in craft shops - it's quite easy really.
 |
| Earring hooks, crimp beads and earring wires with jewellery making pliers. |
The Finished Jewellery
These are some pieces of the jewellery I make in the above way. I often keep the bracelets for myself; I have them in quite a few colours!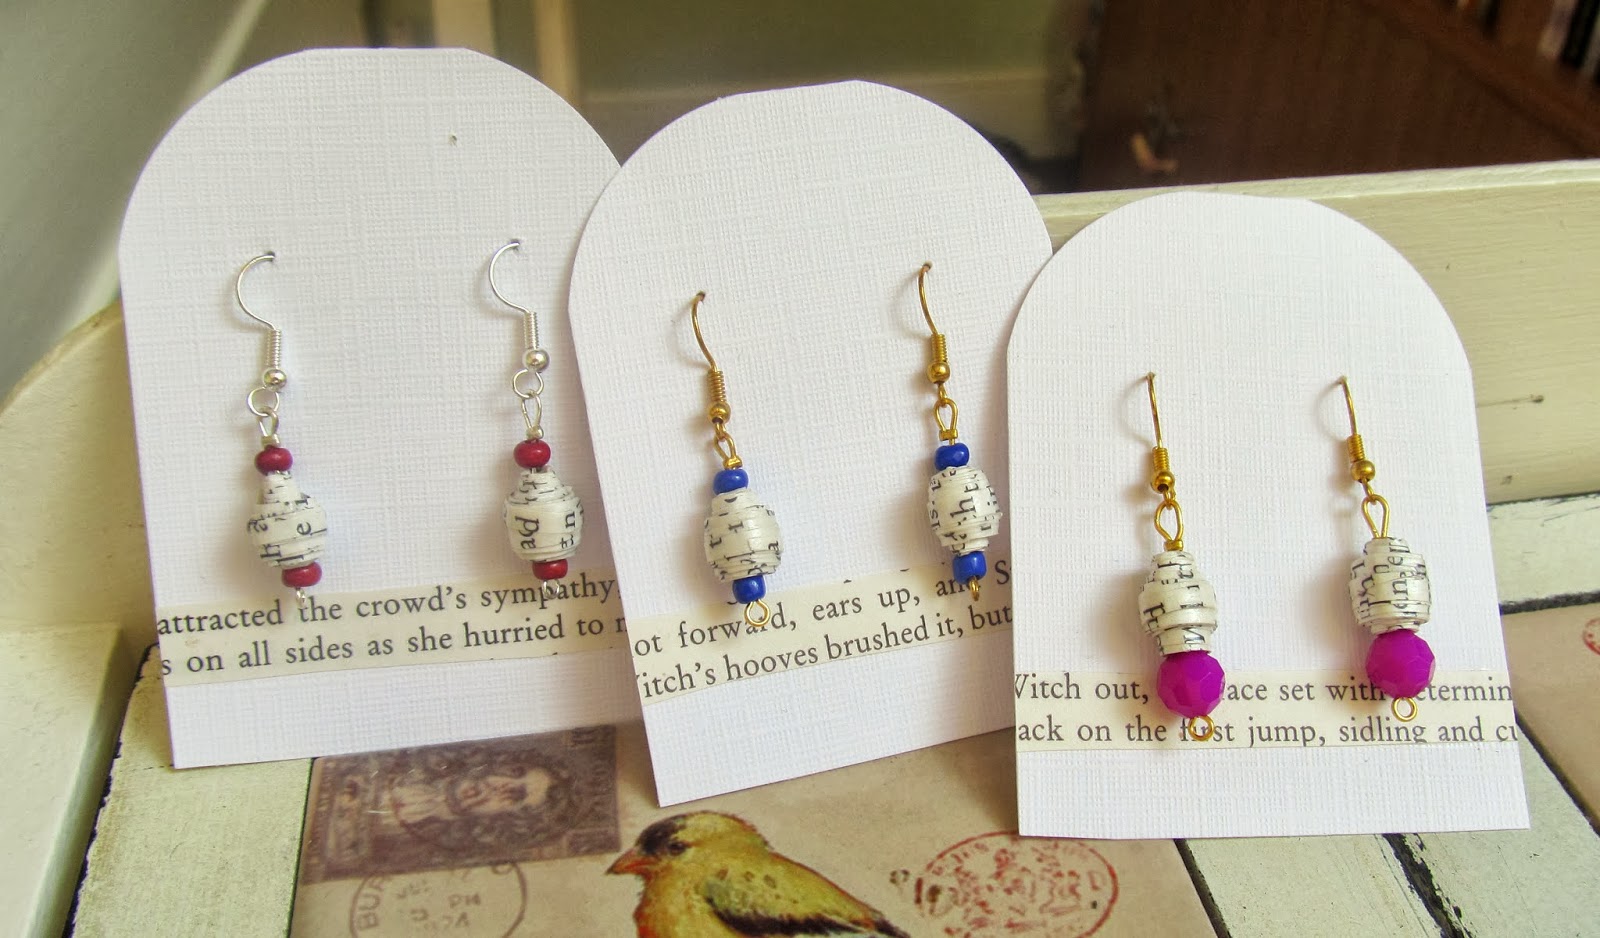 |
| Earrings packaged for the shops |
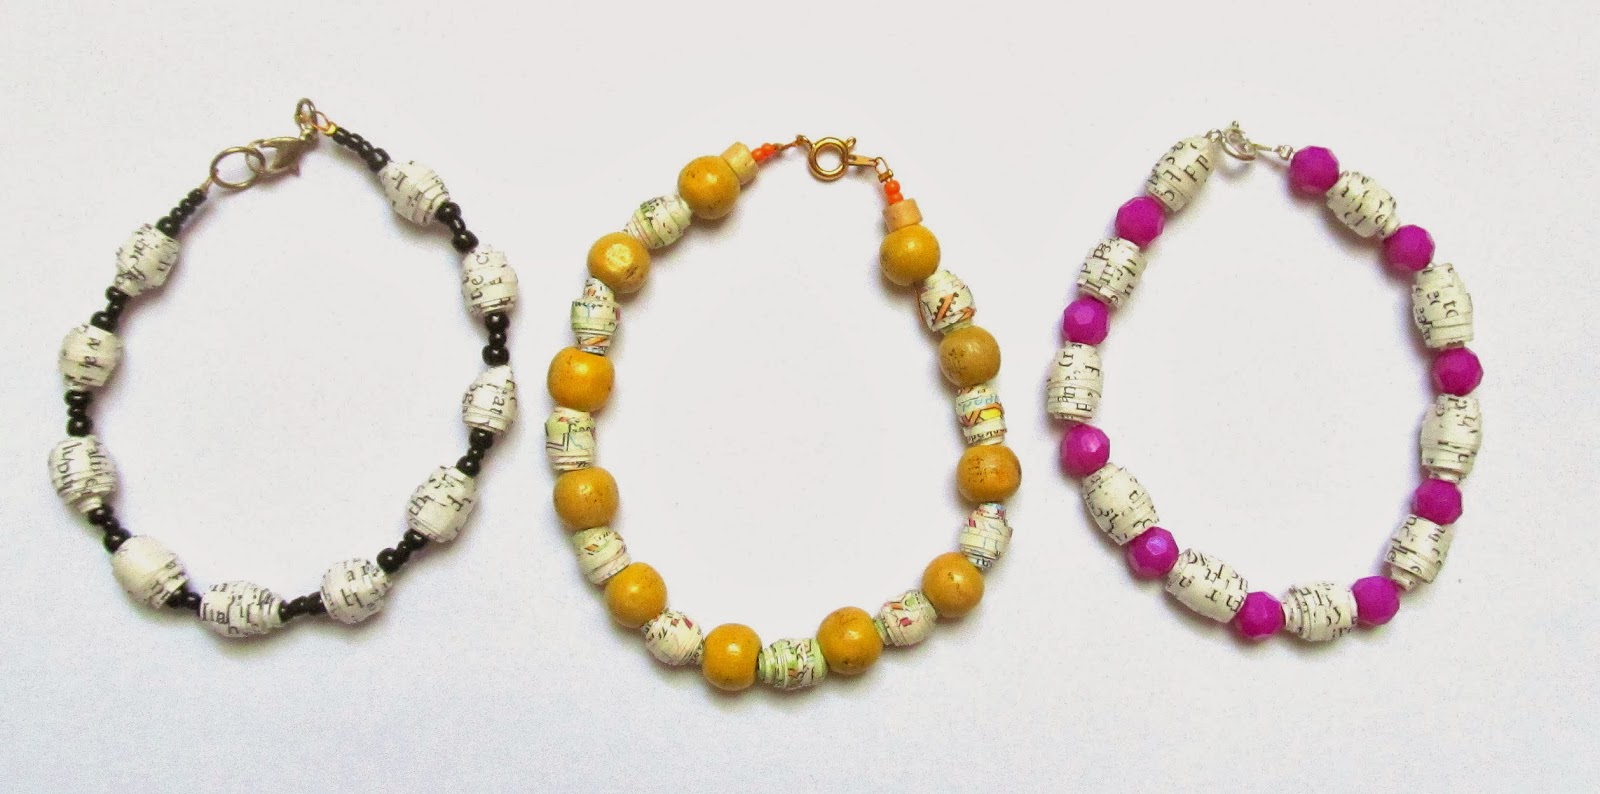 | ||||||
| Paper bead bracelets. I kept the pink one for myself! |
 |
| A set of matching necklace, bracelet and earrings |
As I said before, these are ideas and there are lots more detailed tutorials out there on the internet if you need more information. Hopefully this will give you some inspiration to try it yourself (or treat yourself to some of mine!).
Fabulous way to upcycle colorful junk mail! xox a fellow upcycler... www.LizOhsiekDesigns.com
ReplyDeleteThanks Elizabeth! It is a fun way to play with lots of different papers and colours.
DeleteGreat use for junk mail. I must try this sometime, my girls would love it!
ReplyDeleteI was wondering if you’d mind if I featured this in a top 10 upcycles of the week post. I’d like to use just one photo from your blog and put a direct link back to your post. Please let me know if this would be ok.
Thanks so much,
Jill @ Creating my way to Success
http://www.jembellish.blogspot.com/
Just stopped by to let you know that I featured this project on my Top 10 Upcycles of the week!
ReplyDeleteTop 10 Upcycles of the Week
Hope you have a great weekend!
Jill @ Creating my way to Success
Thank you so much Jill! I'll spread the word.
DeleteI love rolling beads, from paper, and mostly from cereal boxes - gives you a chunky bead for crafting ;-) Your beads are lovely!
ReplyDeleteThanks JoAnn. I've never thought about making them out of card before - I'll have to give it a go. Thanks for the tip!
Delete