Everyone loves to receive a present (you should see me on Christmas morning!) and when it's beautifully wrapped it makes it all the more special. One thing though that seems a real shame is the pile of used gift wrap that is lying around after with the only option to throw it away. Now don't get me wrong, I love to scavenge through the wrapping remains and save bows, ribbons and anything else that can be reused (there's a running joke in my family about some gift boxes that everyone's received a present in!), but what about if the whole of the wrapping could be used again? This thought is what led me to these ideas...
Fabric Gift Wrap
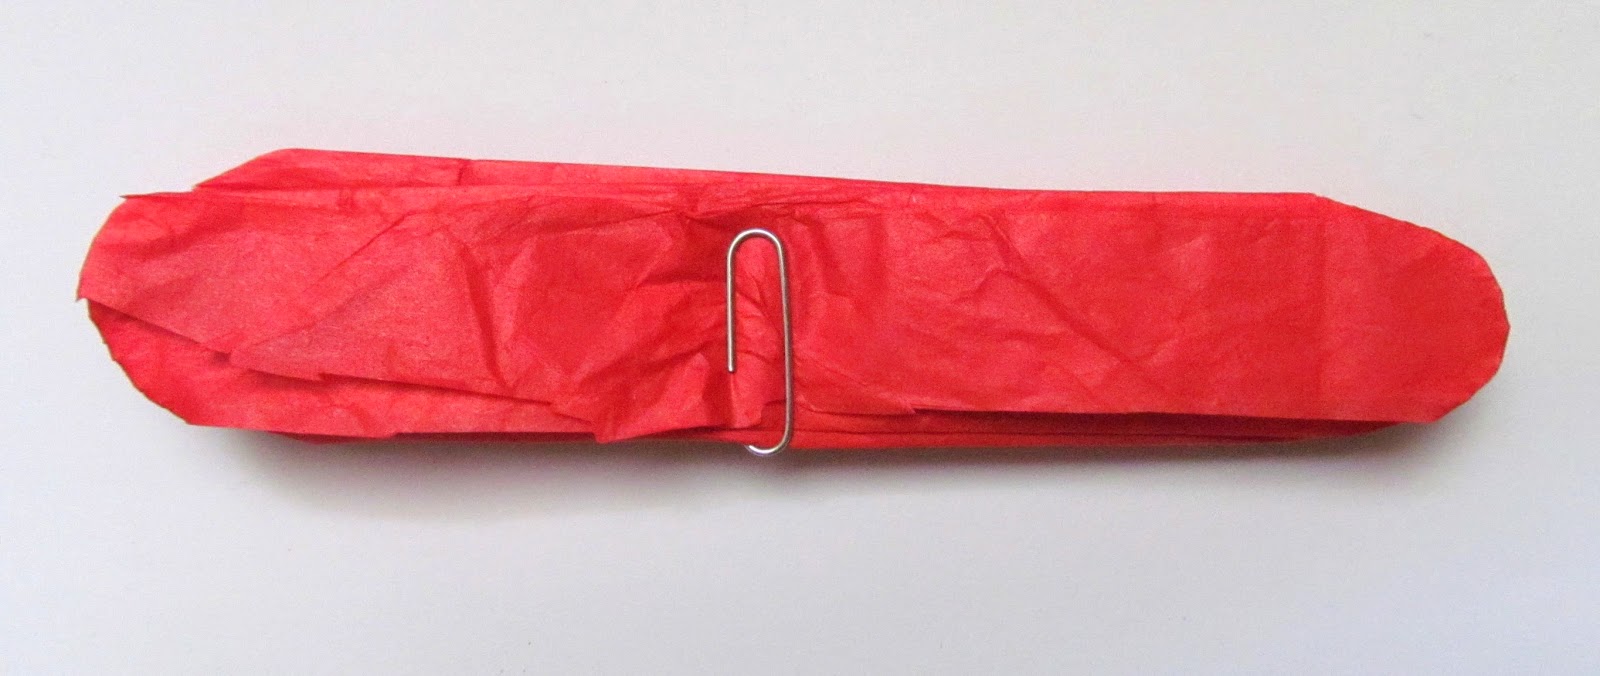
I've seen this idea in one or two places and loved it. The idea is that the wrapping is reusable as, unlike paper, it isn't stuck down and doesn't tear. I also thought it you be particularly apt for a crafty friend who you are giving a sewing themed present to, especially with a couple of added reusable decorations.
For this gift I cut a piece of fabric to the right size for the box, put the box into the centre of the material and folded the two longer edges into the middle of the top of the box. Then I folded the remaining fabric of the two shorter sides so that the raw edges were hidden and folded this over the top of the box securing it in place with safety pins. Next I tied ribbon around the box then removed the safety pins one at a time to add a red button before pinning back on the present.
Covered Tub or Canister
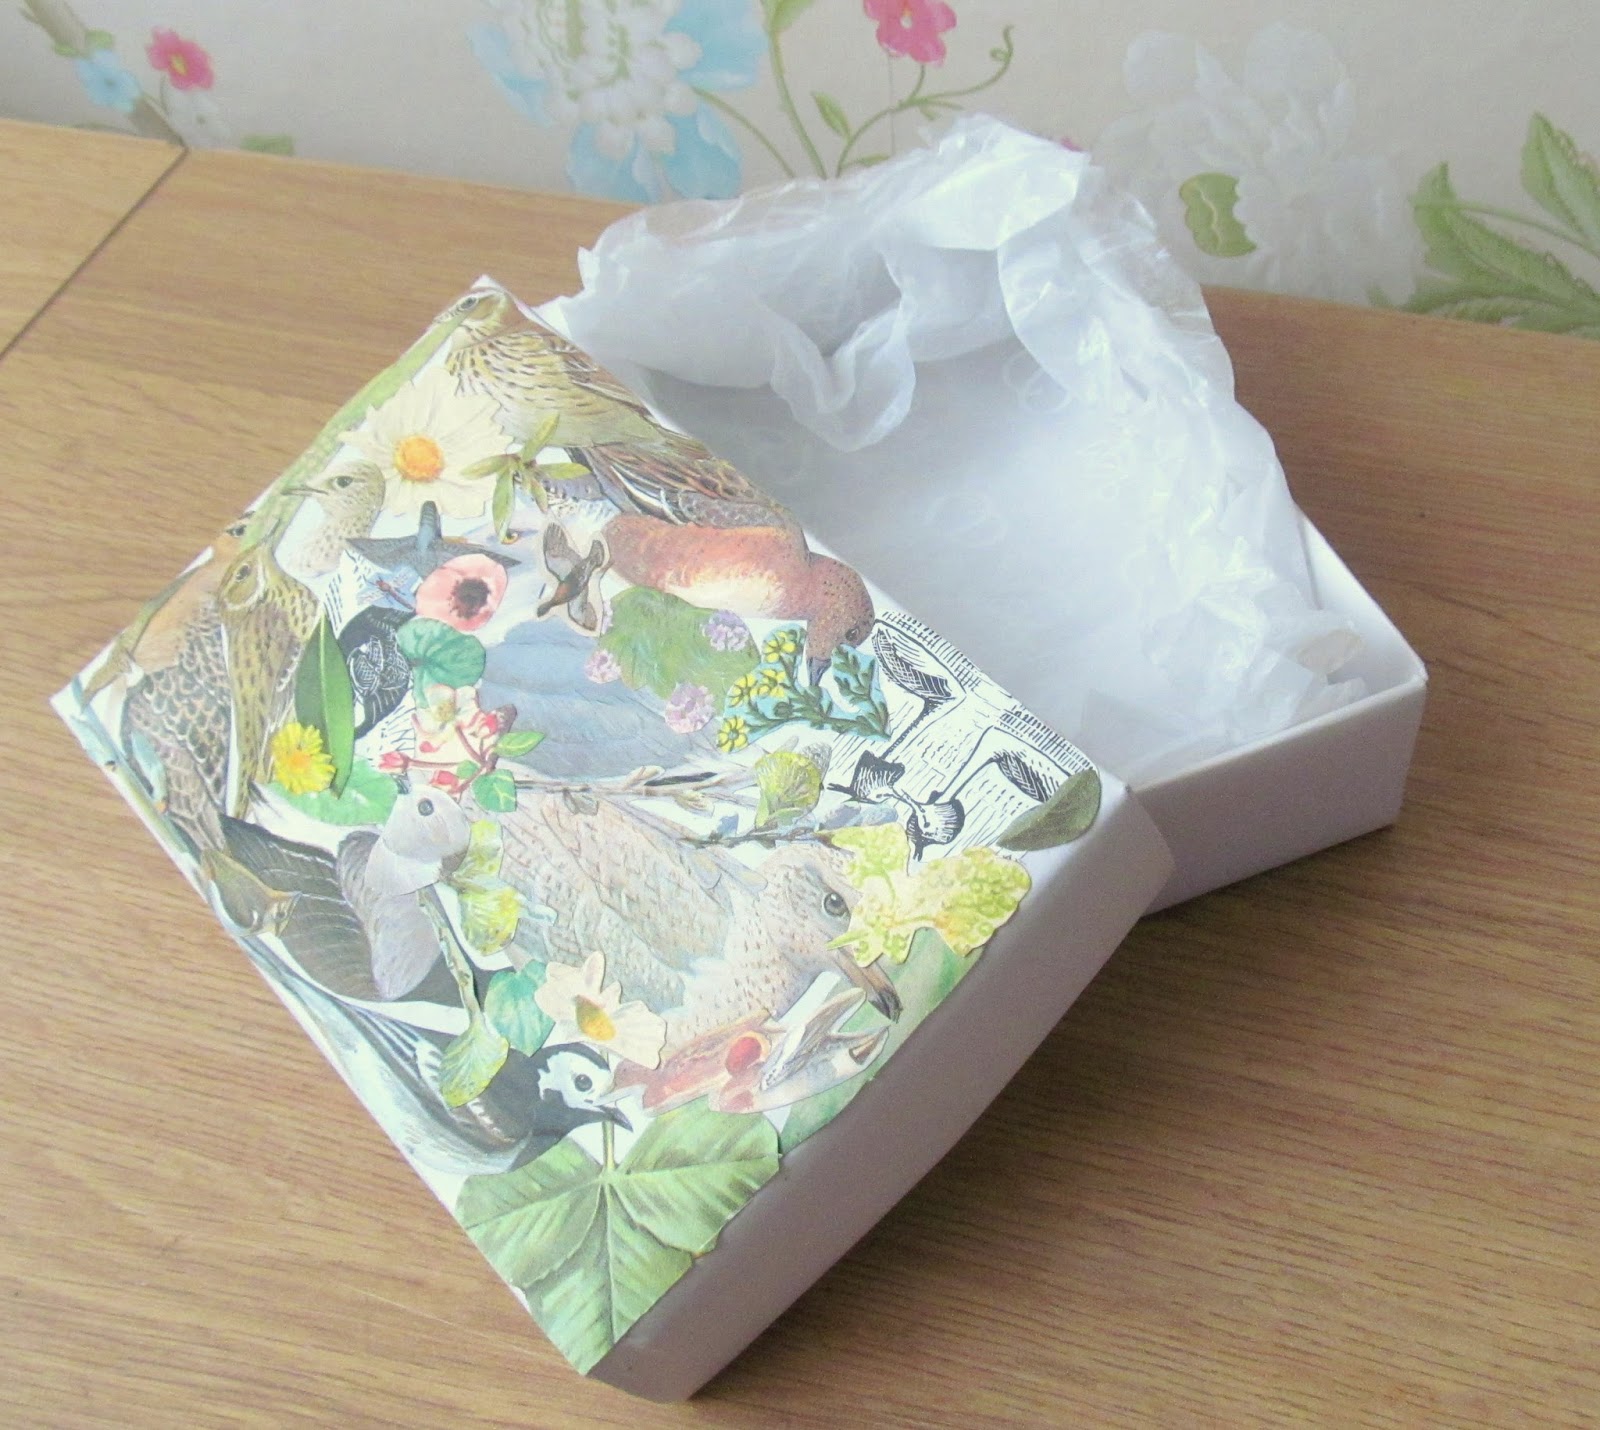
I can't help saving used jars, tubs, boxes...well, anything that could be a handy container again. Sometimes I use them as they are as storage such as these jars filled with buttons, or I cover them in pretty papers to keep things in like this chocolate box which is a home for my candles. They also make good containers to put gifts in as then the recipient can use them again too.
Here I've used an empty, washed out conditioner tub. As it had a plain black lid it was easy to keep this and just cover its body. I just cut a strip of paper long enough to wrap around the tub with an extra inch added on for the overlap. I folded the end of one of the short edges over to make it neat, then stuck double sided sticky tape on the back and stuck it around the tub with some extra tape at the overlap.
The matching bow on top can be made using the instructions further down.
Bookmark Gift Tag
There's someone I know (who shall remain nameless) who when I've given them a gift with one of my handmade tags on it, saves the tag and puts a sticker over the writing on the back so they can reuse it. I do like this idea of reusing and it got me to thinking about what other uses gift tags could have so that they aren't thrown away. That's when I thought about a bookmark gift tag, especially if the present you're wrapping is a book for someone who, like me, thinks no present giving occasion is complete without one!
All I did was cut a piece of white card measuring 80mm x 120mm and scored it in half down the length of the card. I added a strip of old book paper and some punched paper hearts as decoration on the front. Then inside I used double sided sticky tape to stick down two pieces of ribbon at the top so that most of it came out over the top of the card. I then added a strip of double sided sticky tape down the edge of the tag inside the front and added a message to explain how to turn the tag into a bookmark. Use the ribbon on the top to attach the tag to the present.
How to Make a Paper Bow
To add a finishing touch to a gift, an upcycled paper bow looks great. I used a page from a book to make this one but you can use any kind of paper. The measurements below suited the gift I wanted to put the bow on but they can be adjusted to your needs.
You will need:
- Scissors
- 3 strips of paper 250mm long x 15mm wide
- 3 strips of paper 220mm long x 15mm wide
- 1 strip of paper 50mm long x 25mm wide
- Double sided stick tape or glue
Step 1
Take one of the longest pieces of paper and fold it into a figure of 8 shape as below. Use sticky tape or glue to hold the ends in place.
 |
| Take one end and twist it around securing it under the middle of the strip. |
 |
| Do the same with the other end, again securing it underneath the middle of the strip. |
Step 2
Repeat step 1 with the remaining 2 longest strips.
Step 3
Add double sided sticky tape or glue to the back of 2 of the 'figure of 8's that you've just made where the paper crosses over. Place them one at a time on top of each other spacing them evenly to make a circle.
 |
| The 3 longest pieces of paper stuck together to make the base of the bow. |
Step 4
Repeat steps 1-3 with the next 3 longest strips of paper. You should end up with two layers to the bow as in this picture.
 |
| The two layers of the paper bow. |
Step 5
Roll the smallest piece of paper into a loop and secure with tape of glue.
 |
| The paper loop which will be the centre of the bow. |
Step 6
Use glue or tape to stick the middle layer inside the bottom layer and then the loop inside the middle layer to form the finished bow.
 |
| The layers are stuck together to complete the bow. |

.JPG)


.JPG "unique home decor")