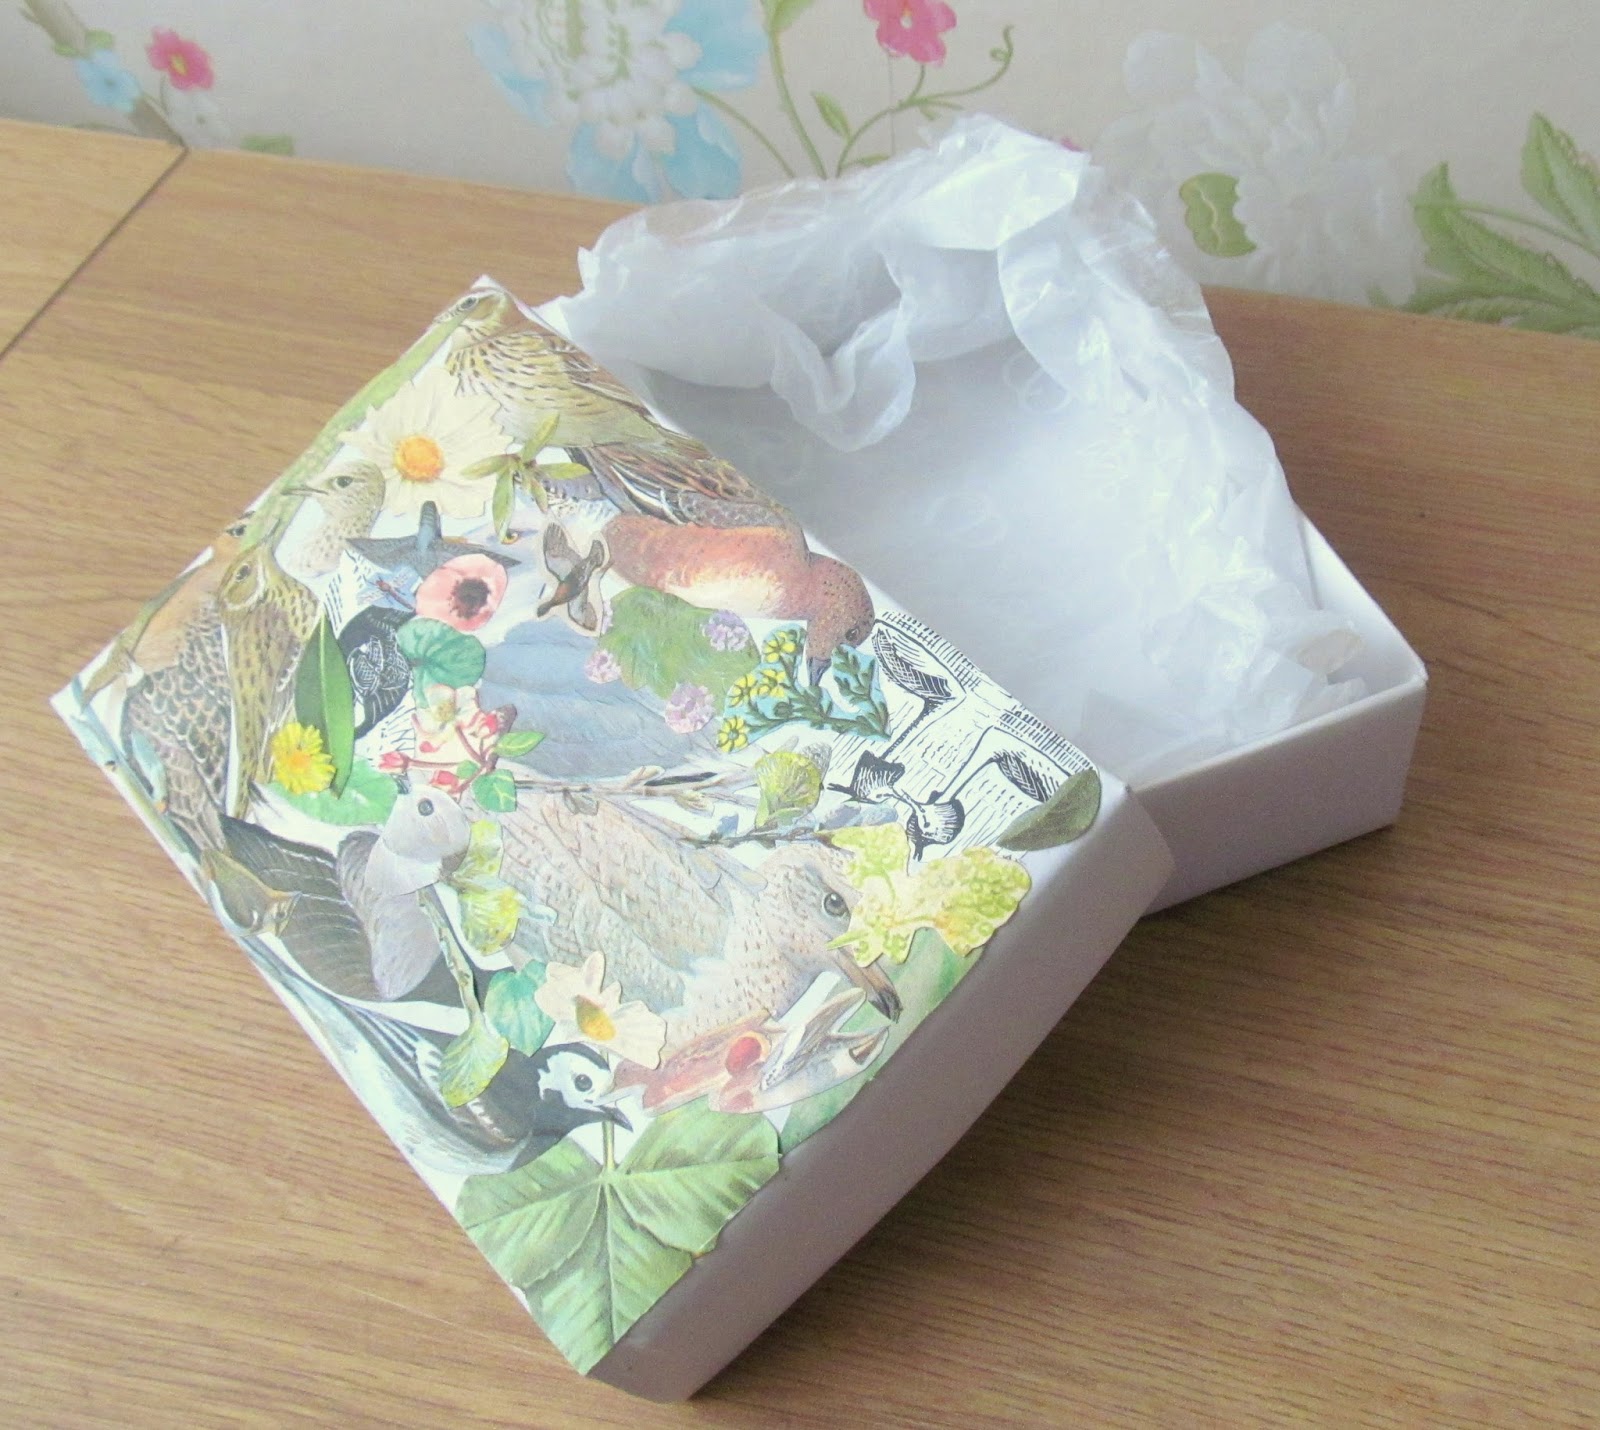
Obviously, the final use of the box depends on the size you choose to decoupage. Here I use a small box that was originally a gift box for a purse. It's a nice one to use as it's plain apart from the original logo on the front so I've just covered the lid. If you wanted to create a very fancy piece you could cover the whole thing!
You will need:


- A cardboard box (whatever size you need or have)
- PVA glue
- a brush to glue with
- scissors
- water
- a book to cut up or a pack of vintage paper embellishments
Step 1
If you're using an old book, cut out the pictures you want to use to decorate your box. If you're using a bought pack of embellishments, choose the pictures you'd like to use.
Take the lid off the box. Without gluing them - place the pictures over the box lid to see how many you'll need and the best way to arrange them.

Step 2
When you're happy with where the pictures will go you can start to glue them down. Spread PVA glue over the back of the picture and press it in place where you'd like it to go on the lid. Don't worry about using too much glue as it's important they're stuck down well. If glue splurges from under the picture you can either cover it with another picture or brush it out as you'll be sealing the box later.

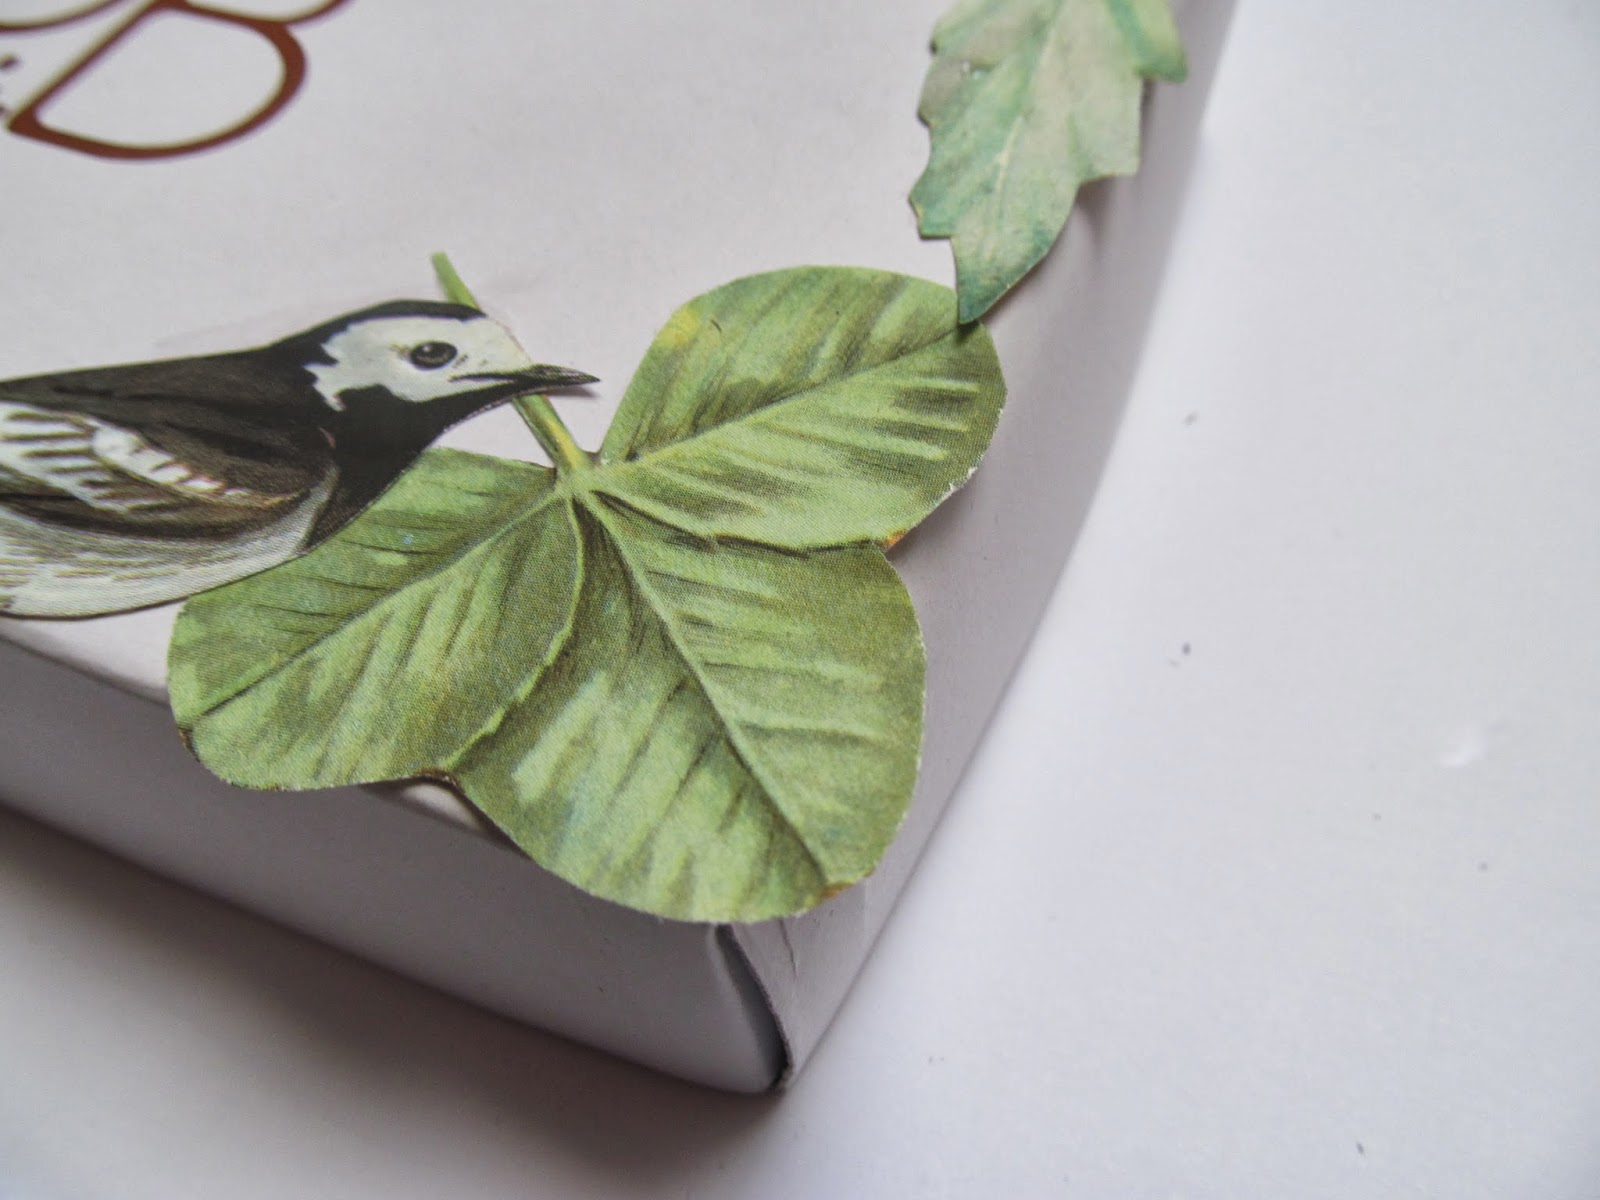
Let some of the pieces hang over the edges of the lid. These can be trimmed later. Fill in small gaps with smaller pictures or leave some of the original box lid showing through.
Keep going until you're happy that the box is completely covered.

Step 3
Turn the lid over and use your scissors to trim away any overhanging papers.

Step 4
Now you'll need to seal the pictures. To do this mix some PVA glue with a little water (I use a mix of about 5 parts glue to 1 part water, but it's not an exact science!). Take a brush and spread this mixture over the lid of your box. Make the layer thick enough to create a glaze but thin enough to not soak the box.

Leave the box to dry. I like to then give it a second coat with the glue and water mixture. Leave this to dry completely before using your box.
And there you have your unique decoupaged box. Try them in different sizes and with different papers to use in a variety of ways.

Great idea!
ReplyDeletecongrats
great idea, I've got a lot of little boxes that would benefit from this!
ReplyDeleteBeautiful box and love all the little birds, flowers and floral.... so fun. Thanks for sharing it on your #simplybebetsy gallery! Sharon and Denise
ReplyDelete