Wednesday, 19 February 2014

Five Reasons I Love Used Postage Stamps in Crafting

Ever since I can remember I've loved postage stamps. When I was little I used to collect them, and I still have that album now! I used to collect them from letters I received or asked my family to save them for me. I also remember (and this is quite a rare occurrence, I have a terrible memory) buying them in little packets from the local shop who had a card behind the door with them hanging on. You could buy a pack with the stamps of another country which seemed such an exciting thing to do!

Used postage stamps in crafting


I still can't help but collect them up to this day, although now I have found uses for them too. And here's why I love them so much...

Reason one... they're like little works of art

I love looking through stamps and looking at all the wonderful pictures and colours. Each one is like a miniature piece of art representing a country or occasion and reveal fascinating images of all kinds of things.

These are some of my favourites.

used postage stamp craft ideas


Pretty postage stamps for use in crafting

Reason two... they show you different countries

The packets of stamps I used to buy when I was little came from all different countries from around the world. Some of these I'd never even heard of at the time! It made me take a look in the atlas and want to know about the place. Now my geography's better it's not so much where the country is as what's important to them that I like to find out, and with the internet now it's easy to do a little research and find out why certain things are on their stamps.

used postage stamps in crafting


Reason three...they're free!

Free resources are always great and as they're plentiful too you can play around with them without worrying about wasting money.

Reason four... it's a way of upcycling

Saving and re-using the stamps saves them from going in the bin. Giving a new life to what is usually considered rubbish is a fun thing to do.

Reason five... there are so many ways to use them in crafts

Here are just a few things I make with them.

Using postage stamps in crafts... by Pink Flamingo Handcrafting


These are just a few reasons (or excuses) I have for loving stamps. Why don't you start collecting them and see what you can create?

Find this post on http://bebetsy.com

Sunday, 16 February 2014

Ideas for Decoupage

Decoupage is a lovely way to create unique pieces of homewares, stationery, gifts and many more things (anything you can stick paper to really!). It's a great way to use pretty papers you have and want to display and also to reuse objects that are looking past their best by recovering them.

The French word découper means 'to cut out' and is where decoupage gets its name. And basically it's as simple as that; cut out papers and use them to decorate.

The first thing I can remember decoupaging when I was little was a small set of drawers made from cardboard which help little items of stationery - paper clips, rubber bands, drawing pins etc. They'd gotten a little tatty so I covered them with used postage stamps I'd collected and I had myself a unique little decoration.

The basics of decoupage

Decoupage is very simple in its basic form (which is really all I do!). You simply cut out some pretty papers and glue them to the object you want to cover. Then you need to coat them to stop them getting tatty or marked. For this I simply mix some PVA glue with a little water to thin it out and use a paint brush to to spread it thinly over the papers (you don't want to get them too wet or the paper will bubble). Depending on the type of paper I've used I might do this a couple of times.

To get started you'll need:
  • various papers
  • scissors
  • PVA glue
  • a paint brush
  • water
  • objects to cover
If you're trying decoupage for the first time and want to practise before you unleash your creativeness on an object, try decoupaging a small cardboard packet/box or a blank piece of thick card first until you feel confident (or as I usually do, get stuck in and make a mess!)

Things I've decoupaged

This is a clip board I've had for more years than I can remember! It had sticky marks on it, tatty corners and a faded checked pattern. I used strips of vintage dictionary pages and music sheets which I inked the edges of and then slightly layered over each other and stuck them to the board. Then I cut out some bird pictures from an old bird book and stuck these on top. Finally I coated the whole thing with the PVA and water mixture to seal it ready to use.

ideas for decoupage - clipboard


decoupage using paper ephemera

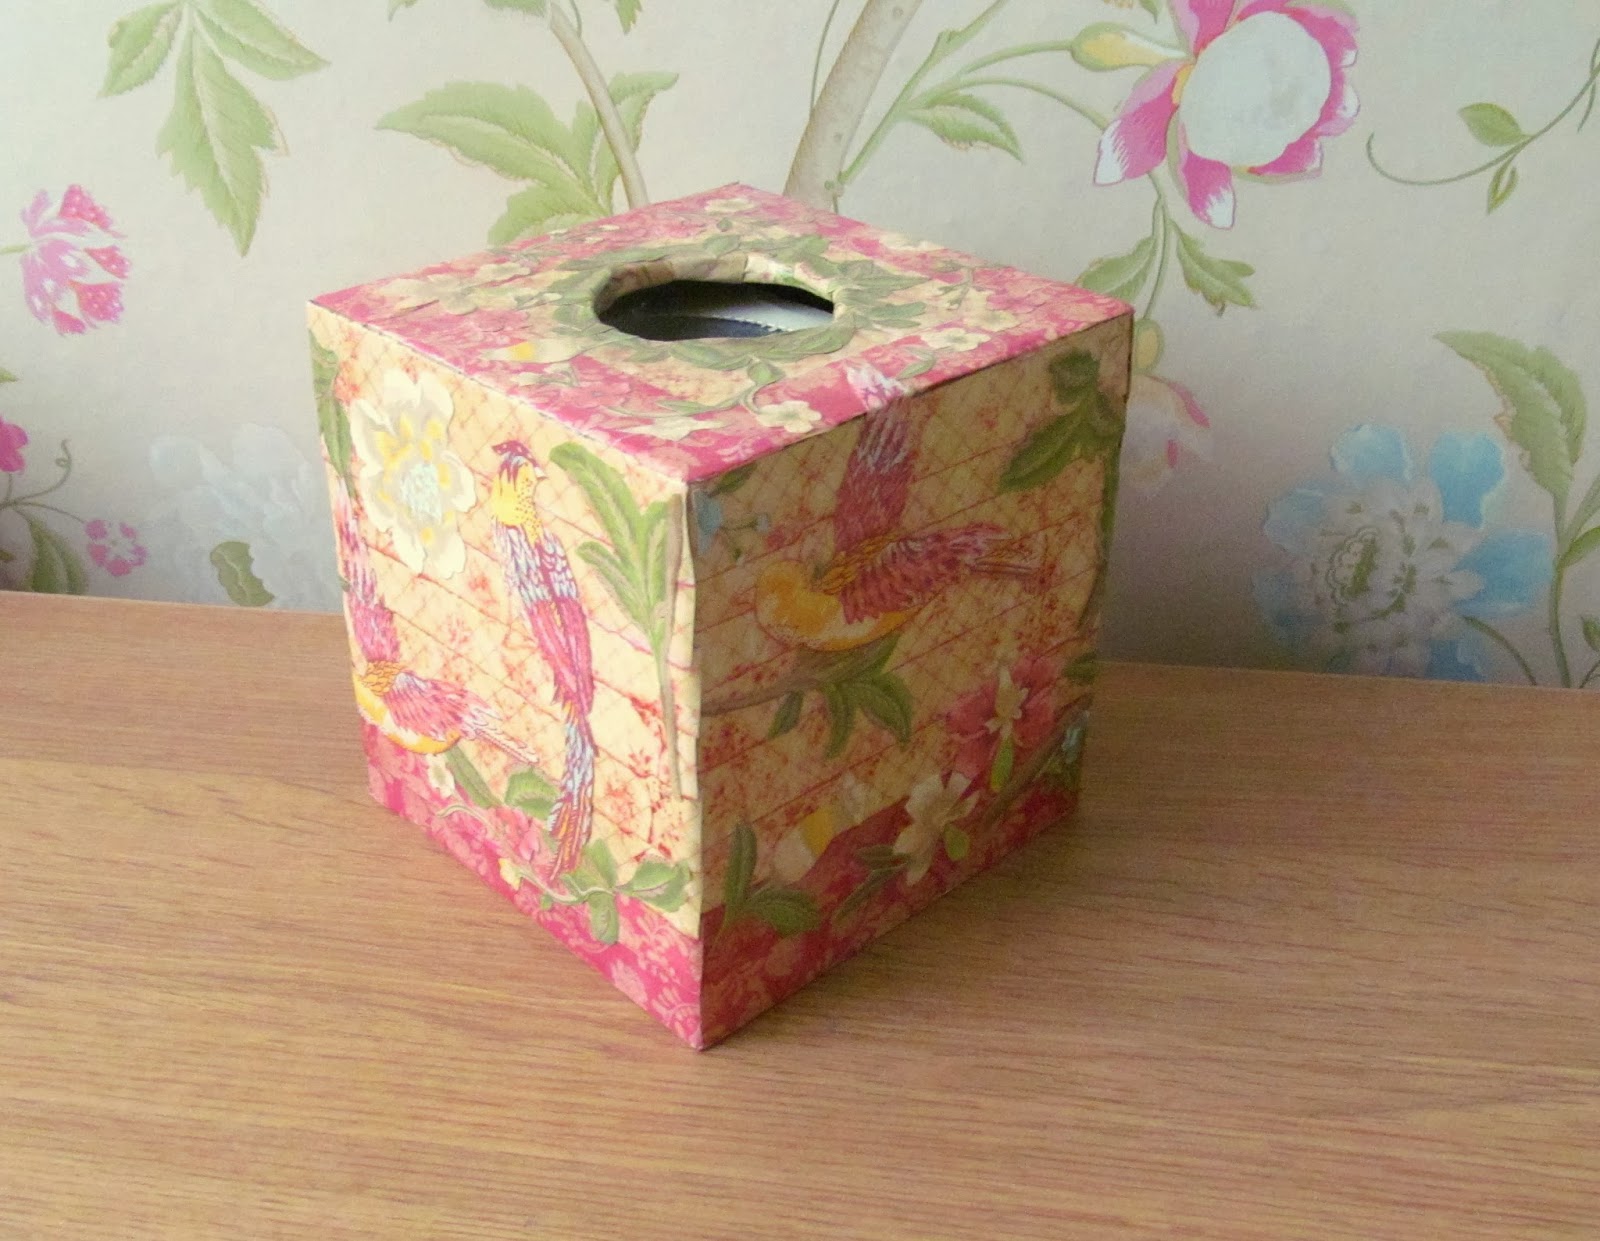
I made this tissue box cover to match my new wallpaper when I decorated it. I bought a blank wooden cover from a craft shop and glued strips of paper to it, slightly overlapping each strip. I didn't realise it at the time, but the Laura Ashley wallpaper I'd used was also also available in the same pattern as scrapbook paper - and I had some in my paper collection! I cut out the birds and flowers and added them to the box to match the wallpaper.

Decoupaged tissue box by Pink Flamingo Handcrafting

how to decoupage by Pink Flamingo Handcrafting

I love to keep boxes to store bits and pieces in and often cover them with decoupage to make them look prettier. This started out as a chocolate box which I've simply covered with cut out pieces of paper. 

Decoupaging old boxes...by Pink Flamingo Handcrafting

Papers you could use

Craft shops sell 'decoupage' papers which are usually thin tissue paper type sheets but basically any thin, flexible paper will work. You could try using:
  • maps
  • postage stamps
  • wallpaper
  • book pages
  • newspaper
  • magazine pages
  • old envelopes
  • pictures cut from books
  • old tickets
Find this post in my gallery at http://bebetsy.com

Friday, 14 February 2014

Let Me Introduce You To...

There are two things I find it difficult to resist buying (okay, there's more than two, but these are the top two): old paper and jewellery. So when I find them combined I just can't help taking a closer look.

This post is in no way sponsored or influenced. All opinions are my own and any quotes are taken directly from the people I'm writing about.

This week I'd like to introduce you to...


Left Brain Right Brain (as the name suggests) is an interesting mix of styles, concepts and ideas. It's based on the notion that 'people are predominantly, left brained or right brained, organized thinkers, or free spirits' but combines the two to mix science (left) and art (right) to create wonderful pieces of jewellery.

This interesting and unique jewellery is the work of Heidi who herself has combined both her scientific and artistic sides to create 'scientific artwork that (she) would be proud to wear'. She has a background in science and education, with a PhD in neuroscience, and has taken this love of the details and textbooks and combined it with jewellery making to create pieces 'for the science geek or guru'.

Let me introduce you to... science jewellery from Left Brain Right Brain

Anyone who's seen my own work will know that I love to salvage and rescue old books saving the vintage images to reuse in interesting ways, and that's something that's definitely appealing about Left Brain Right Brain's jewellery. The thought of a text that has had it's place in social history still being used today, for me, keeps the past alive and is a glimpse into past ideas and thinking; sometimes it's amazing to see what has (and hasn't) changed!

Heidi likes to think of her creations as 'conversation starters' and they'll certainly be useful if you want to chat to someone 'whose life revolves around pi'. They're a statement of intellect as well as a fashion item and show that geek chic is something that can be done in a stylish way. Luckily as she lives in a little town which 'is flourishing with vintage and antique shops', Heidi will be able to keep creating these unique pieces.

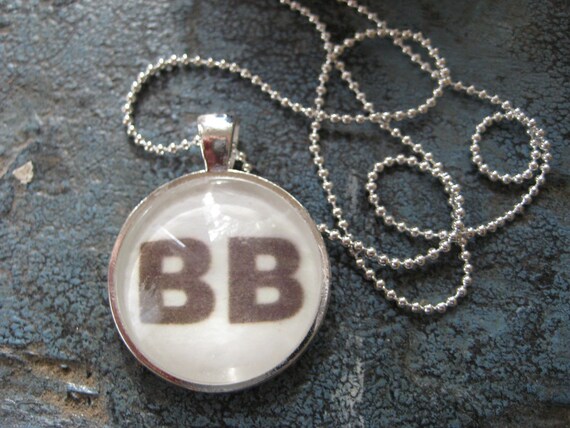
Striking up a conversation about your jewellery can also make you sound very educated as many pieces have a mini science lesson attached to them (which are much more interesting than the ones I remember from school) to entertain your friends with. The story behind this pendant in particular is an interesting read!


Dominant BB brown eye Genotype Silver Pendant
Pendant £8.67 Left Brain Right Brain

So whether you're dominated by your scientific left brain or your creative right brain, you'll find something to satisfy it in Heidi's jewellery!

Find out more:

Shop for jewellery


Wednesday, 12 February 2014

Quick Ideas for Last Minute Valentine's Cards

With Valentine's Day only a couple of days away there's still time to make a quick card. Perfect for if you've just not got round to making one yet or have just plucked up the courage to send one!

These cards are quick and simple and use paper ephemera to make them extra special. You could use any kind of papers you have lying around too, just follow the same basic design.

The basics you'll need

  • blank card and envelope
  • pencil
  • glue
  • greetings
  • papers

The ideas...

Use maps of local, special or significant places to create two hearts to stick on the front of the card.

map valentine card idea

These are from maps of places near where I live. Make a cardboard template of the hearts to make sure they're the same size. Use a black pen to add a 'stitching' effect around the edges.


Use stamps from a country that's special to your loved one; it could be where they're from; where you met; where you went for a special holiday. Cut a heart out of card and stick the stamps on it. Trim around the edges and stick the heart to the card. I've also used this to make two small hearts to put on one card like the one with the maps above.

quick valentine cards to make - postage stamps


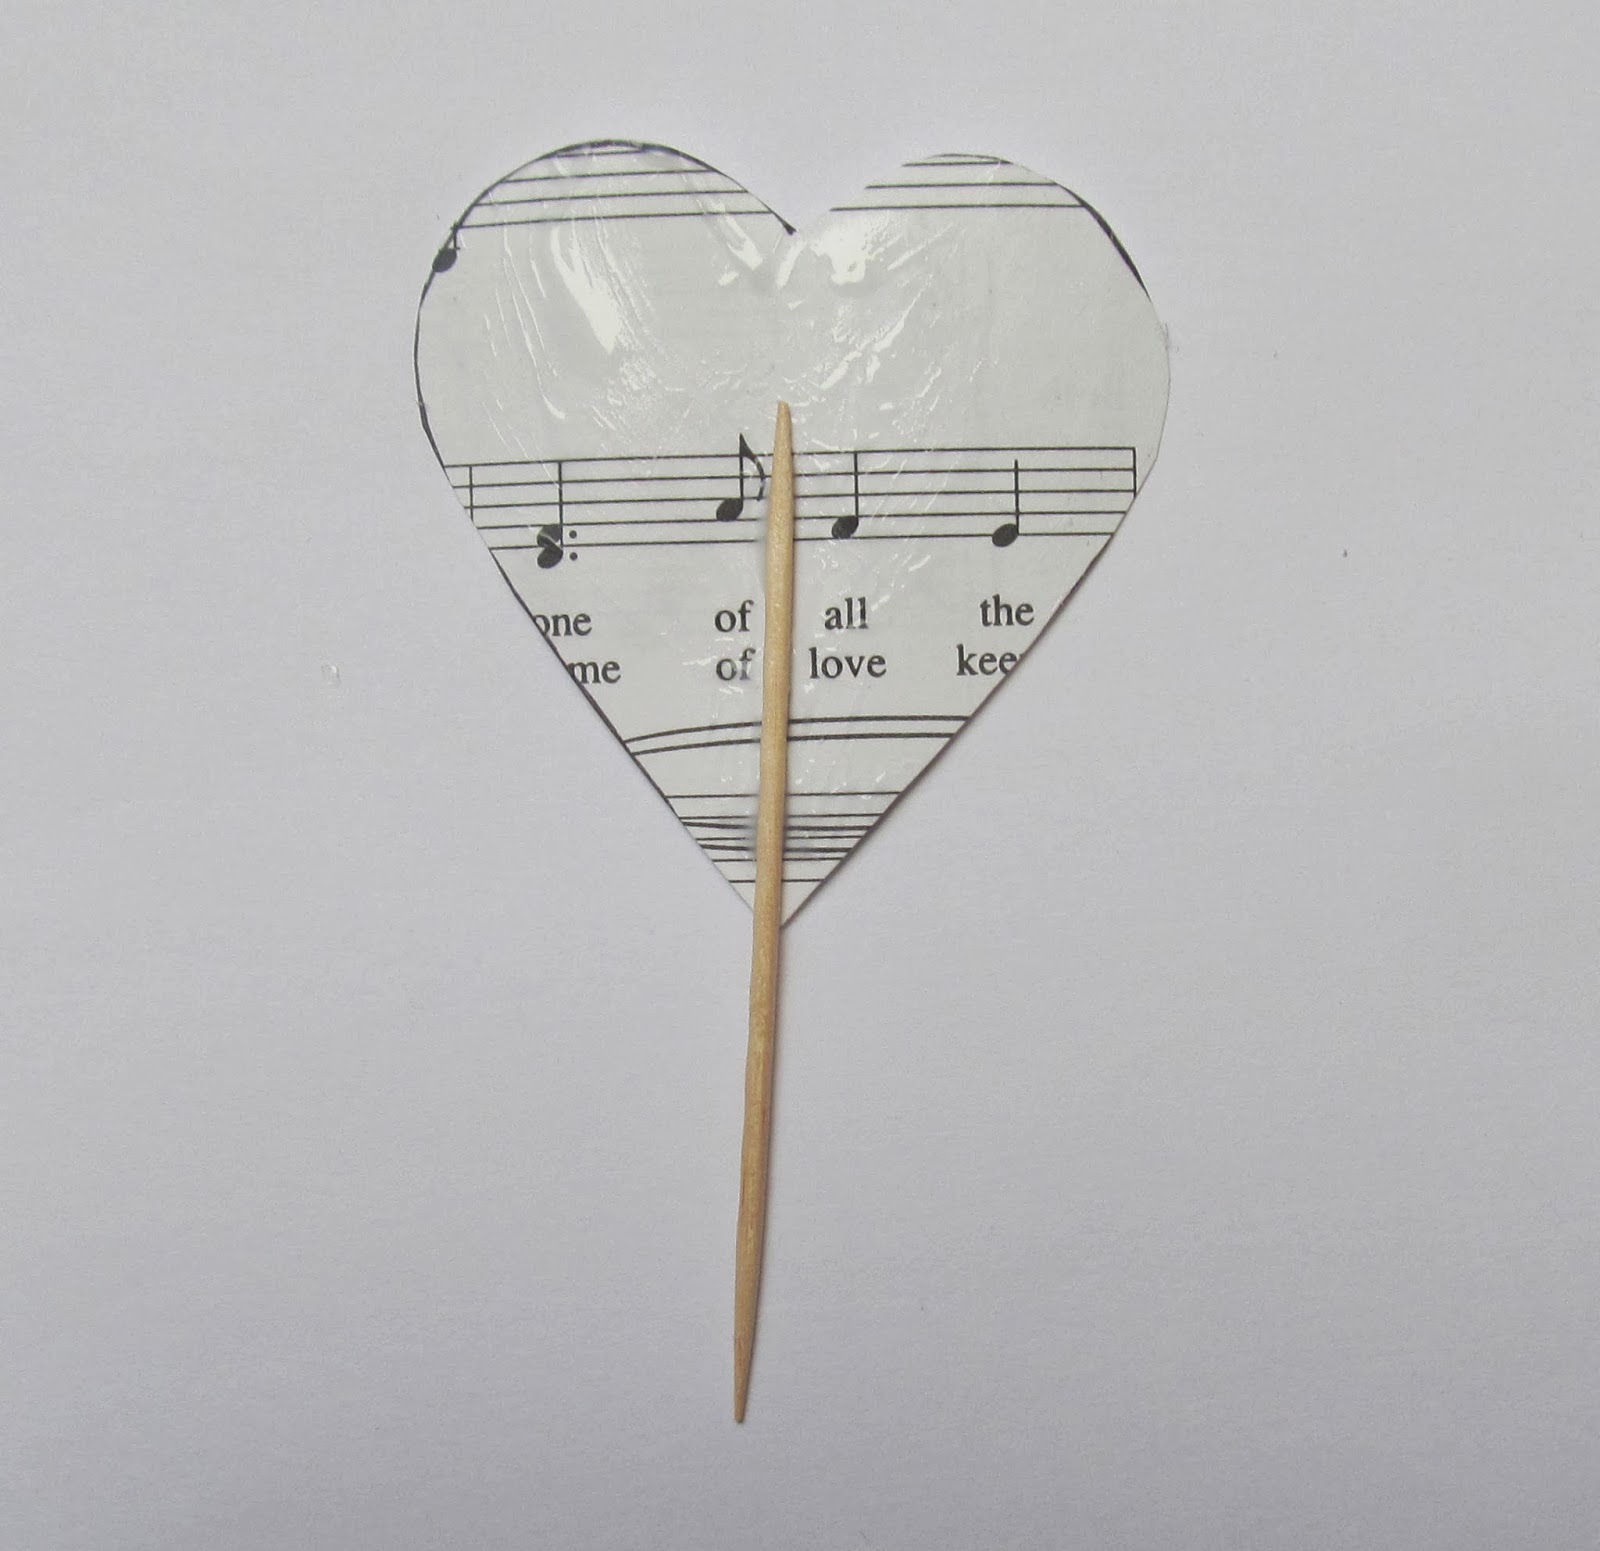
Use old music sheets of 'your song' to make a heart or hearts to stick to the front of the card.


When you've stuck your hearts to the card front you just need to add a greeting. And as you've made it yourself you can make it extra personal! You could add one by writing it on, printing a greeting and sticking it on, stamping onto the card or use a pre-made greeting from a craft shop.

Friday, 7 February 2014

Let Me Introduce You To...

Bags and purses are something I believe it's impossible to have too many of... unless you have so many that you literally can't get into your house, but I don't have that many...yet.

I particularly like the classic purse frame and the satisfying 'snap' it gives when you close it. I also love modern, colourful fabrics and with this week's shop I get to see both.

This post is in no way sponsored or influenced. All opinions are my own and any quotes are taken directly from the people I'm writing about.

This week I'd like to introduce you to...


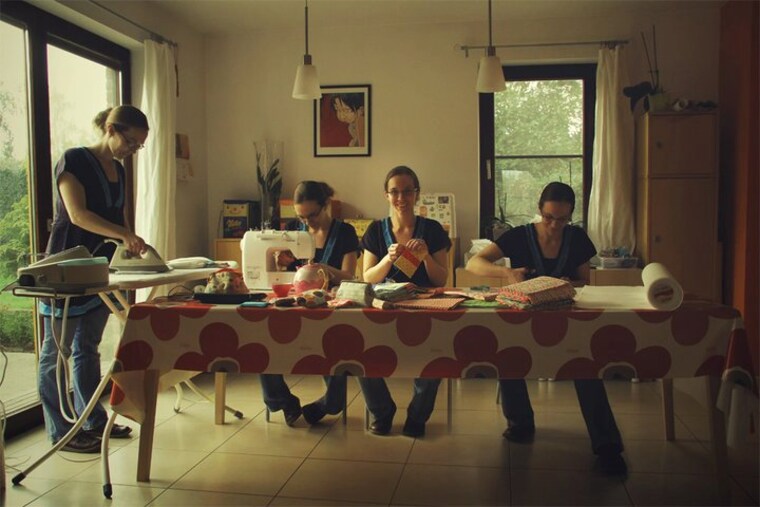
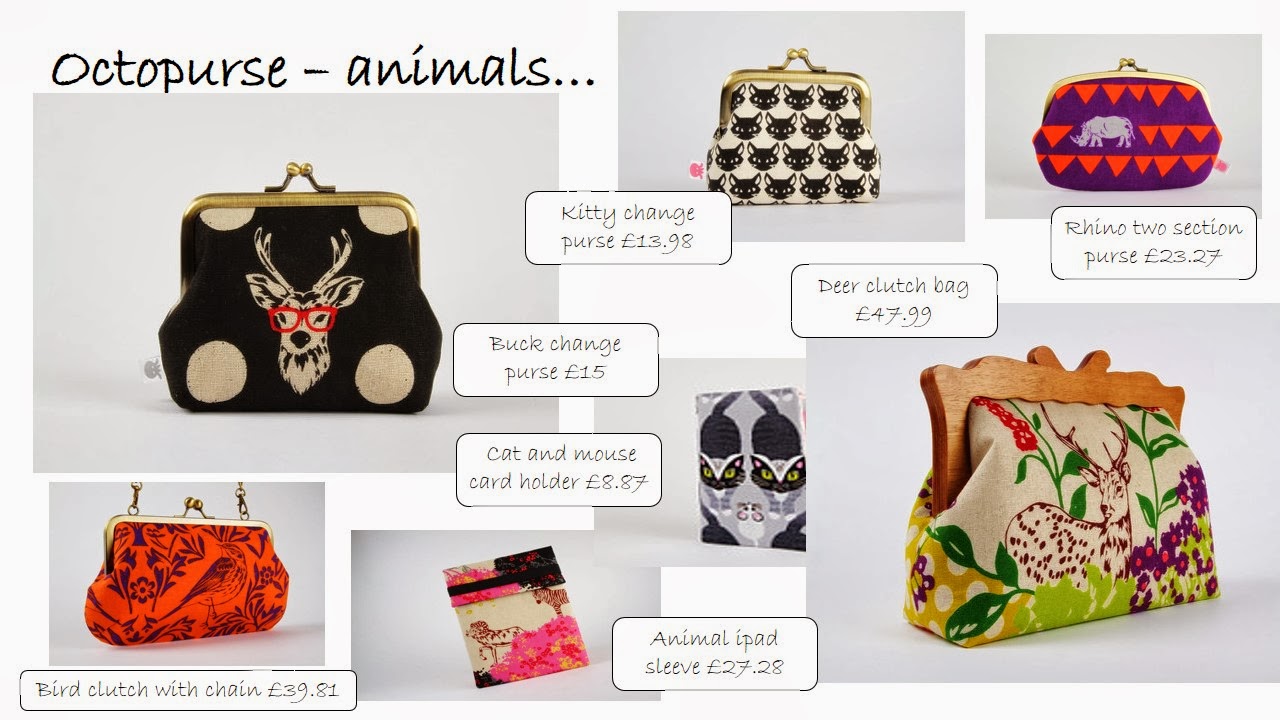
Octopurse is the wonderful creation of Daphne and is based in Belgium. She designs and makes all her items herself and is involved in every aspect of the process, as this fantastic photo proves!


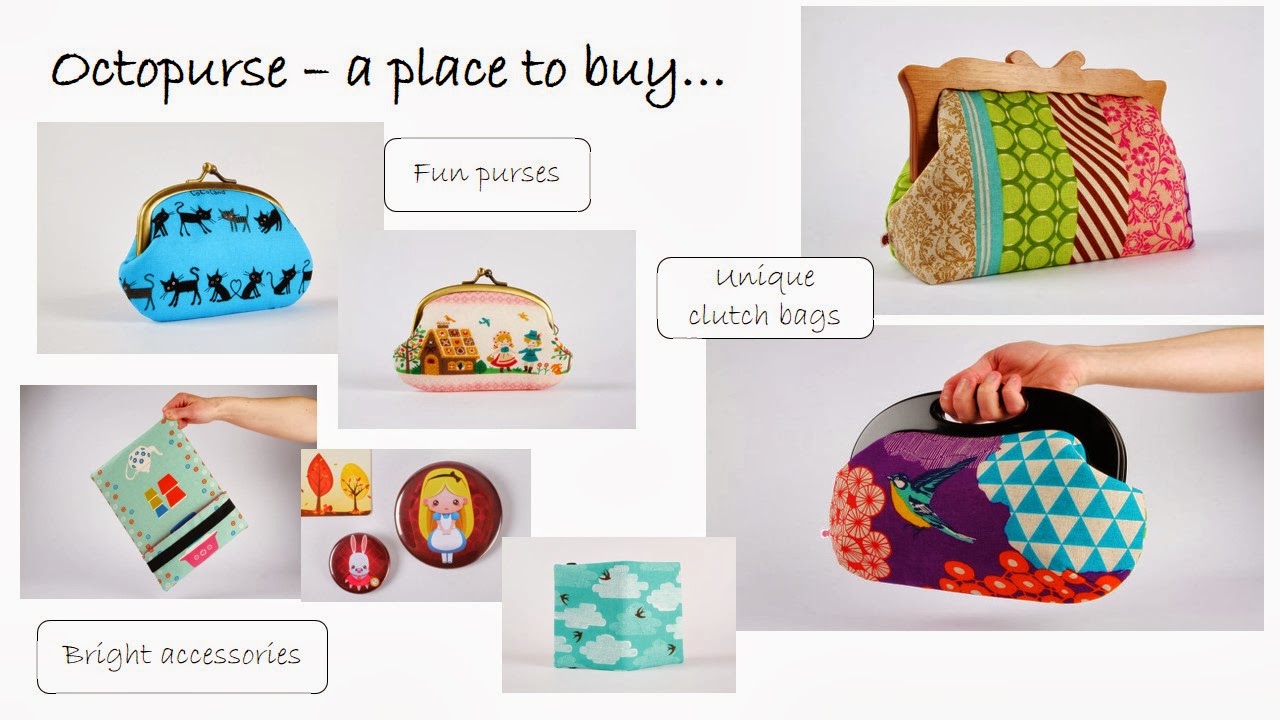
In Octopurse's shop you can find all kinds of fun accessories made with some 'colorful japanese and US fabrics' in a whole range of colours (so you can have an excuse to get one to go with every outfit!). Daphne first made some purses a few years ago as teacher gifts but as she says her 'fingers have never stopped moving' since and her hobby has turned into a business.

Octopurse accessories
Add caption
I'm always drawn to bright and unique fabrics and I think Daphne matches the patterns and her designs really well to get the most out of them. Whether it's featuring a picture or element of the pattern in how she cuts the fabric or choosing the frame/fabric combination, all her items look fun, fresh and well designed. 

I also love an element of mixing old and new and some of Octopurses pieces do this too. The classic purse frame has a recognisably vintage style bringing associations of glamour and style, but the fabric choices bring it right up to date to make it fit with modern outfits too. Daphne has 'done many tests to find the best shapes and a great "puffy touch" which all adds to the charm of her pieces.

And it's not just purses you'll find, Octopurse also offers clutch bags, phone covers, card holders and magnets.

My favourite fabrics have to be animal patterns:

Let me introduce you to...Octopurse

Find out more about Octopurse:

Facebook
Shop on Etsy
Website

Wednesday, 5 February 2014

Custom Orders At Pink Flamingo

One of the lovely things about selling online is being able to work directly with customers to produce one off and customised pieces. Whether it's adding a personalised greeting to a birthday card, having some personalised invitations made from a design in my shops or having something made from scratch to your specifications, I love to make unique and meaningful pieces.

Here are just a few example of what you can have done and I'm always happy to have a new challenge and chance to be creative!


Personalised cards

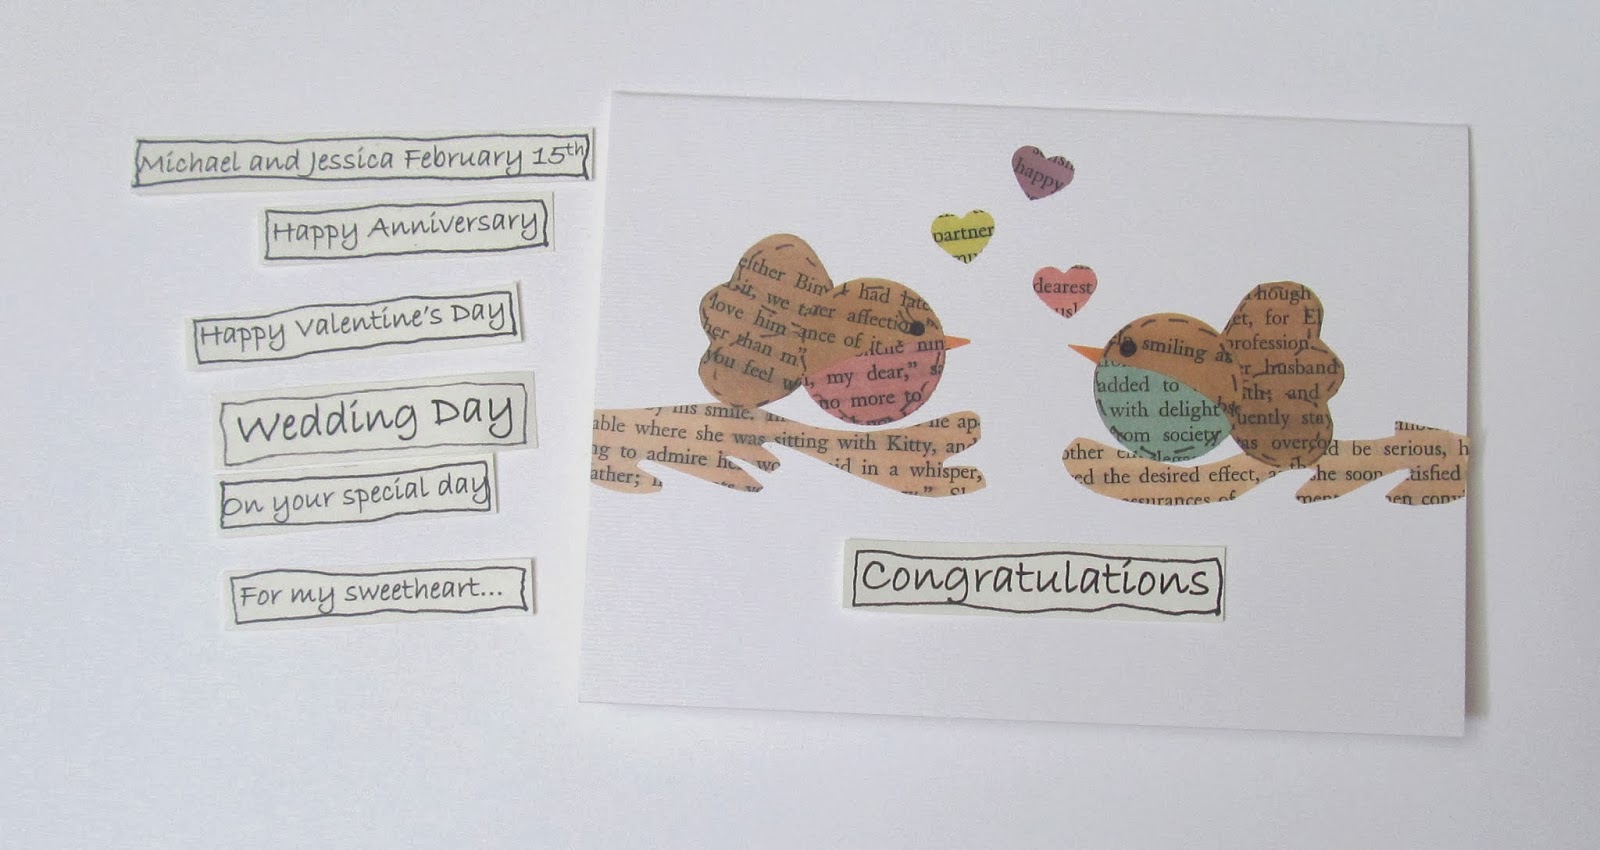
There are lots of cards available at both my Etsy and Wow Thank You shops all of which can have any personalised greeting added. Some are also available in different colour choices or you can always get in touch for colour combinations of your own.

Or if you have an idea and want one made just for you, get in touch to discuss the possibilities.  

Personalised wedding/anniversary cards by Pink Flamingo Handcrafting
All Pink Flamingo cards can have any personalised greeting added

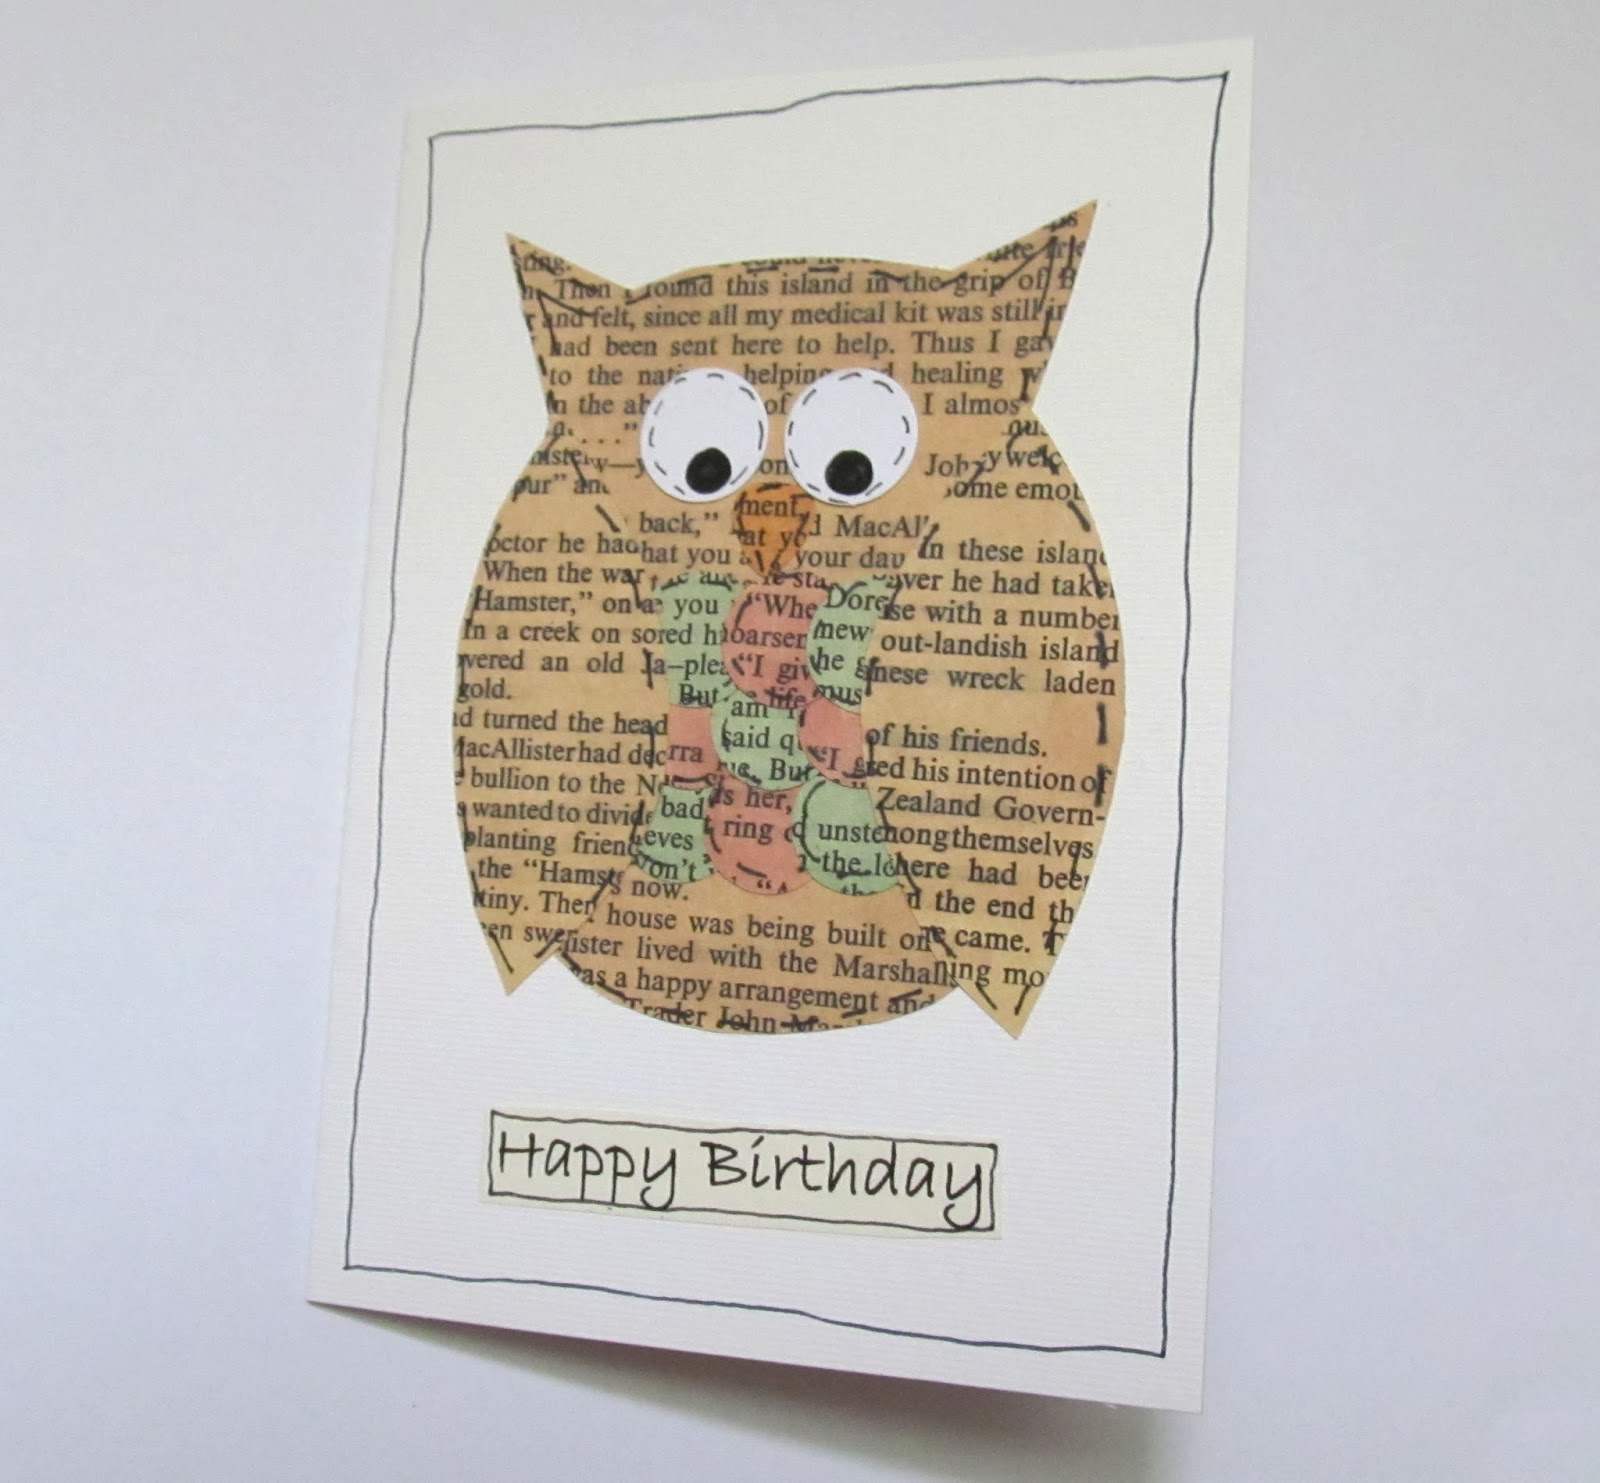
Customised greeting card by Pink Flamingo Handcrafting
This card was custom made to a request - it's the only one in the world!

Flower labels

Last year I met Hollow Meadow Flowers at some markets I was selling at. They grow beautiful flowers here in Sheffield and arrange them in rustic style bunches, bouquets and displays. I was thrilled when they got in touch asking if I could make some labels to go with their wedding flowers - this is what I came up with.

 
Customised flower labels by Pink Flamingo Handcrafting


Party Decorations

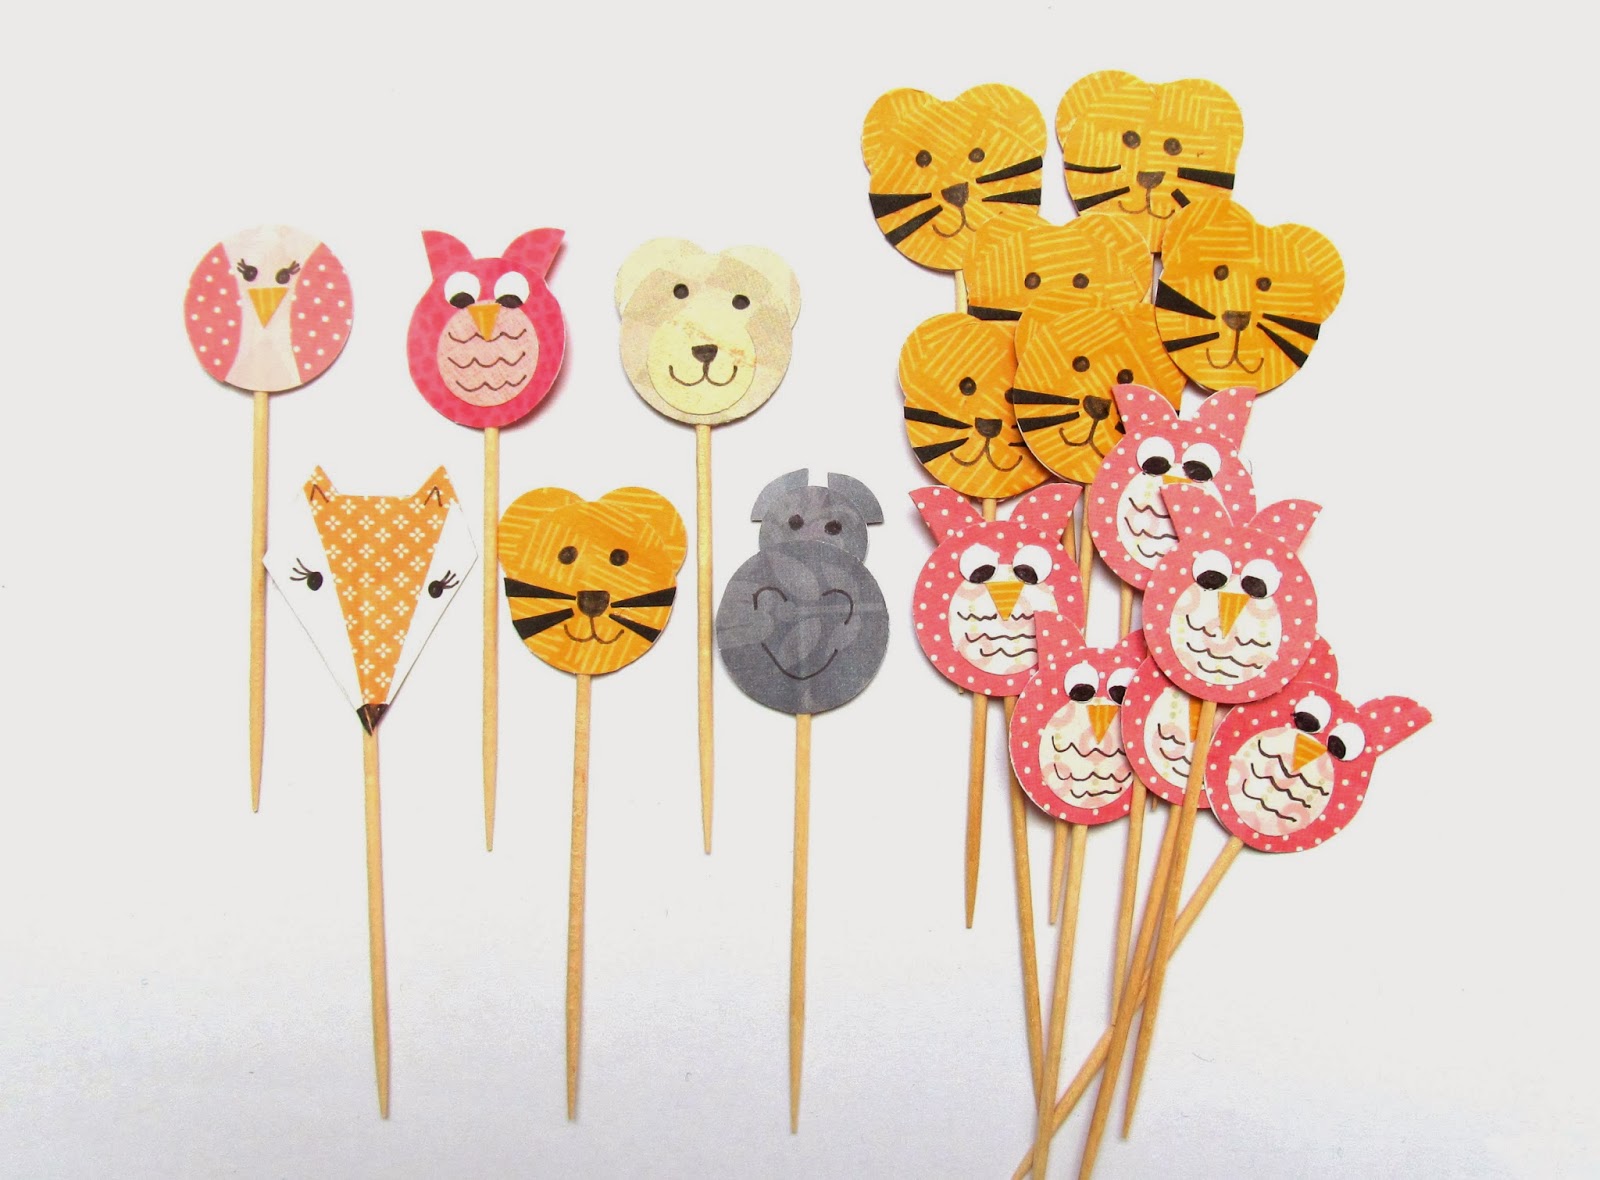
Make a party extra special with personalised decorations. A customer who bought these cupcake toppers requested a birthday banner to match - and that's what they got...

Cute animal cupcake toppers by Pink Flamingo Handcrafting

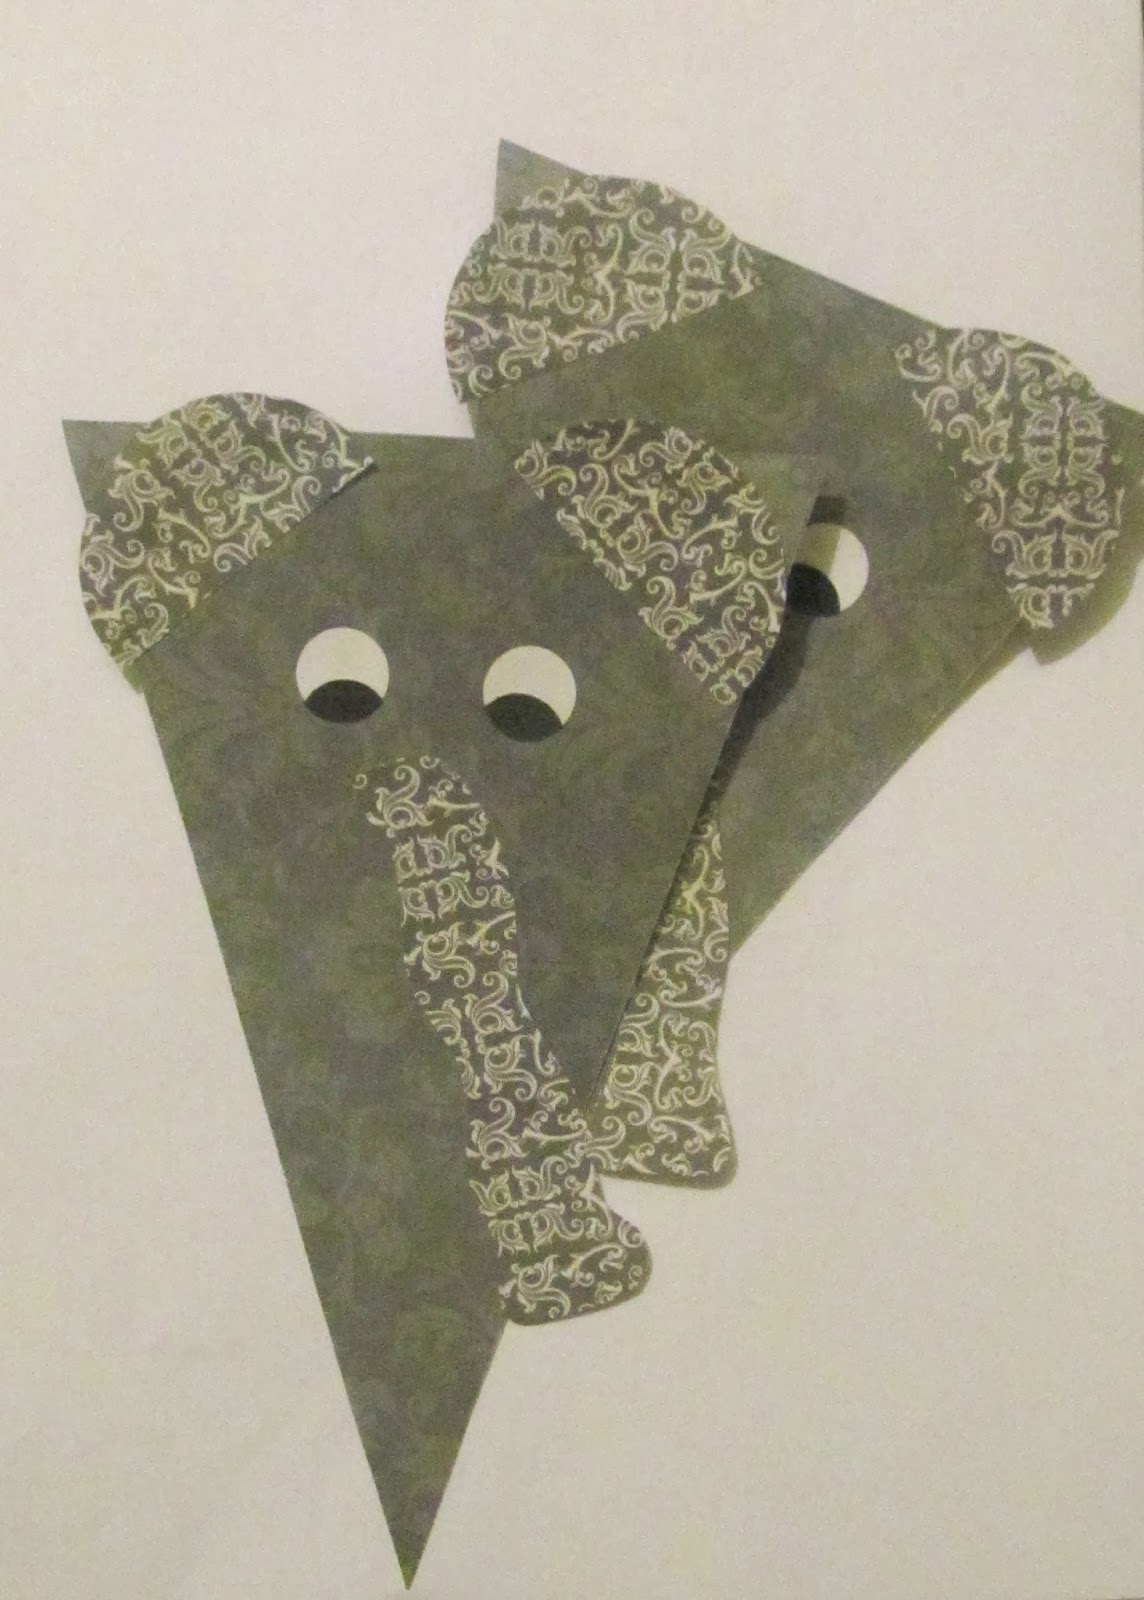
... with added elephants!


customised party decorations by Pink Flamingo Handcrafting


Get in touch to discuss a custom order of your own!

Order through Etsy
Order through Wow Thank You
Get in touch via Facebook
Email - pinkflamingohandcrafting@gmail.com

Sunday, 2 February 2014

Quick and Simple Valentine Cupcake Toppers

In the run up to Halloween last year I wrote a tutorial showing how to make some cupcake toppers for the occasion which proved to be the most viewed post of the year. So with another holiday coming up I thought it would be good to use the same method with different shapes (unless of course bats and mummies are romantic for you!).

Here then are some quick and simple Valentine's Day cupcake toppers. They're fun to play around with trying different colours and patterns too; try using old books or music sheets of your loved one's favourites.

Valentine Cupcake Toppers

Valentine cupcake topper tutorials by Pink Flamingo Handcrafting


You will need:

  • various papers
  • glue (I prefer PVA)
  • cocktail sticks
  • scissors
  • pencil
  • ruler
  • black pen
how to make valentine cupcake toppers

These are the shapes I've used. If you want you could print this image and use them as templates or draw your own.

Valentine templates

Step one

Draw the shape/s you want onto the reverse of one of the papers you've chosen. You will need to draw 2 shapes for each topper you want to make.

Make your own Valentine cupcake toppers

Step two

Use your scissors to cut out the shapes. Place the pairs of shapes 'wrong side' to 'wrong side' and make sure they match up. If one is a little bigger or a different shape just cut around them to make sure they match.

Valentine craft idea

If you're making the lips or roses use a black pen to draw the details on now before you make the topper. Follow the lines in this picture.

Valentine craft idea by Pink Flamingo Handcrafting

Step three

Place one shape down flat with the 'wrong side' facing upwards. Spread a thin layer of glue all over the shape.

Heart cupcake topper tutorial by Pink Flamingo Handcrafting


Step four

Place a cocktail stick in the centre of the shape (about half way up) with the remainder of the stick coming straight down.

Valentine paper craft tutorial

Step 5

Take the other shape in the pair and spread a layer of glue over the 'wrong side'.

Heart cupcake toppers paper craft tutorial

Step 6

Line up the two shapes glued side to glued side and press them together. (This is where a wet glue like PVA is useful as you can move the shapes around a little to line them up).

Heart cupcake topper tutorial

And there you have it, a finished cupcake topper! Repeat the steps for as many toppers as you want to make.