Friday, 9 August 2013

My Favourite UK Crafter of the Week - Beautiful illustrations by Pocket Wren

It's time again for me to share with you another very talented UK crafter. I really love looking at everyone's work and admiring the imagination and effort that goes into creating it.  When I'm at a craft fair I can't help looking at everything and having a chat about the wonderful products (and buying lots too!); one advantage of looking on the internet is that I don't spend as much money as I know (or hope) it will be there later when my 'I want it! I want it!' inner voice has calmed down!

Anyway, this week's crafter is one I spotted a while ago but can't help going back to see her work. Again, this post is in no way sponsored or influenced, it features a crafter whose work I genuinely love. This week's pick is...

Pocket Wren

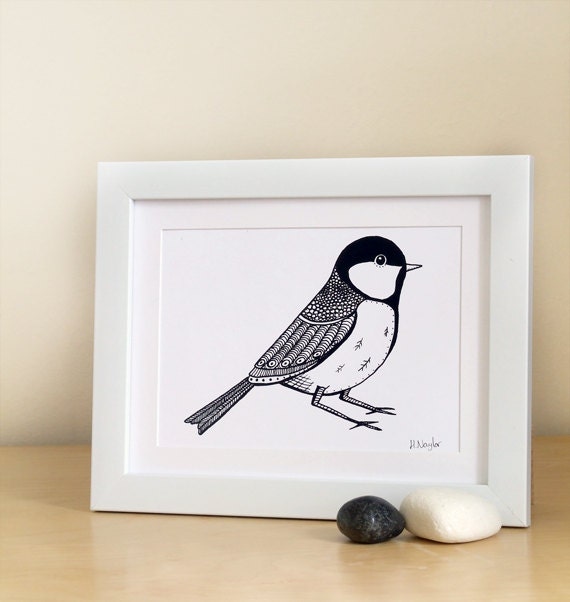
Pocket Wren is the working name of Helen Naylor, an illustrator based in Bolton. Her work caught my eye because it's so pretty and delicate with a lovely contemporary feel to it too. Helen's worked illustrating children's books before but now likes the chance to create something 'a bit more grown up'.

Great Tit A5 Black and white print £7 Etsy

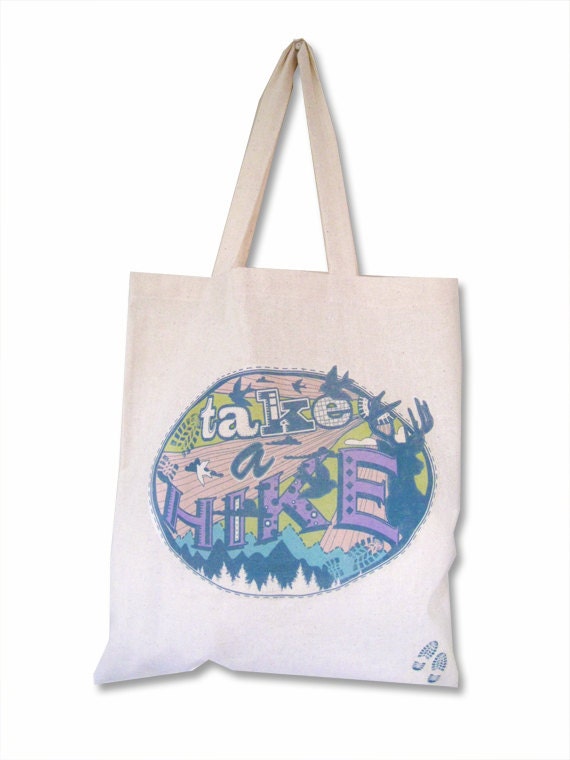
In her range Helen turns her pen and ink drawings into prints, bags, badges and digital art. I love the cleanness of the images and the plain or pastel backgrounds keep a simple feel which really make the main feature stand out. Many of her designs incorporate birds and other animals which she attributes to her 'love of the outdoors' and growing up and living in both Yorkshire and Lancashire.

Take a Hike - Eco Friendly cotton tote shopping bag, £7 Etsy

Helen has a degree in Art and Design and uses these skills to design and hand draw all her own images.  Some of her work is available as prints produced digitally from these illustrations so that you can order the picture and frame or use it to match your own decor. I love this idea as it combines the talent of the artist with your own tastes to produce something for your home which really reflects you. The seagulls print below looks fresh and neat displayed in this frame and would look lovely in a lot of settings. But also imagine it mounted in a rustic wooden or driftwood frame to give it a coastal feel too; I think this is how I'd display it in my home.

Seagulls in the Waves Illustration £12 Etsy

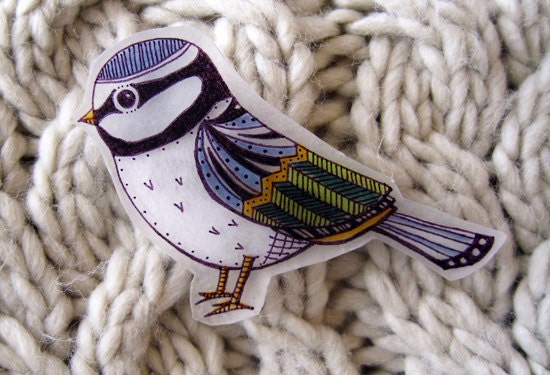
Anyone who's ever taken a look in my jewellery box (only a privileged few) will have realised that I have a thing about animal brooches - the sparkly and brighter (some say gaudier) the better! But I also love simple and stylish pieces to wear on casual days or with outfits that just need a little something rather than a whole lot of bling! And this little blue tit badge fits the bill; it was also the first item of Helen's which caught my eye and went strait onto my Pinterest jewellery box.

Blue Tit Plastic Badge £3 Etsy

So if you're looking for some beautiful pictures for your home or a pretty accessory for yourself, Pocket Wren is a stylish place to start.

You can see Helen's work here:
www.pocketwren.etsy.com
www.facebook.com/HelenNaylorIllustration

Wednesday, 7 August 2013

A Unique Local Shopping Experience

Tapton Hall Farmers and Craft Market

Tuesday was a different day for me - a fair on a weekday.  Usually I'm a weekend stall holder in and around Sheffield which makes a lot of sense as people are off work more and in the shopping mood.  However, I thought I'd give it a go and I discovered some lovely local producers, crafters and customers.

After setting up my stall I had a wander around to see what was on offer and have a chat with the other stall holders. And as usual spend money before I made any!

First I discovered Make or Bake selling an array of baking goods. A whole rainbow (and more) of glitters and bun cases drew me in and then I noticed the champagne and the peanut butter flavourings - two of my favourites! I could have bought quite a lot here - put a showed restraint with just a couple of treats (and an early Christmas present purchase).

Make Or Bake

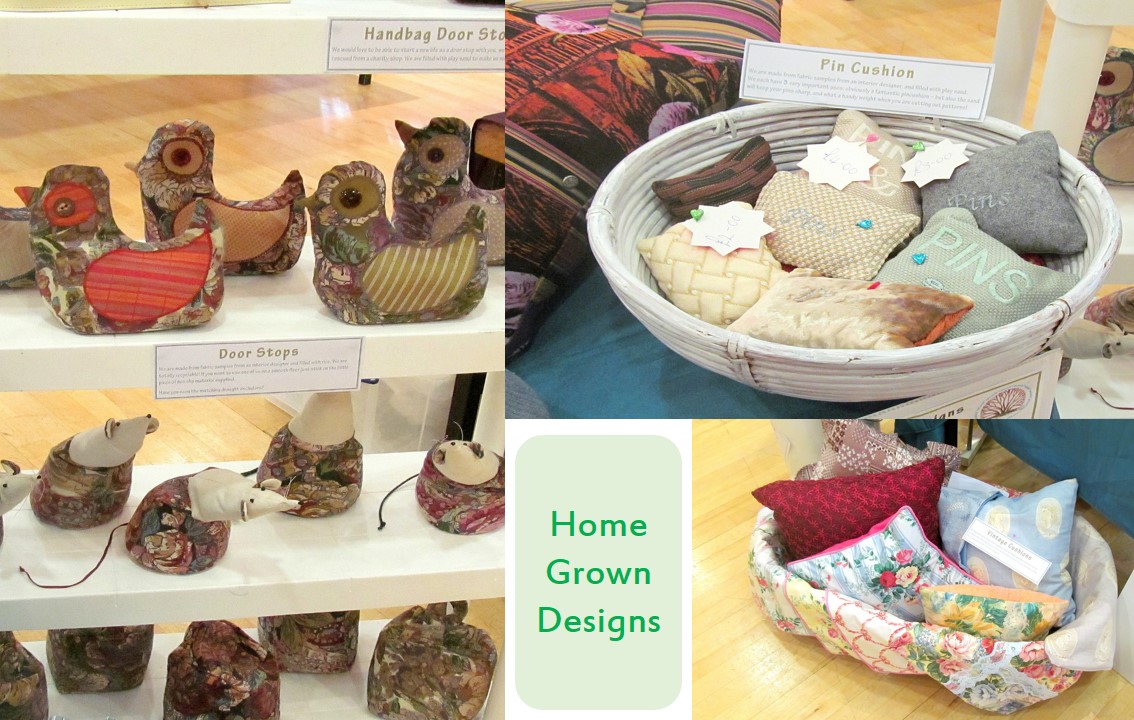
Next I had a chat with Janet of Home Grown Designs who makes beautiful cushions, bags, door stops and other textile products. She reworks discarded fabrics from clothes and sample books to create her work - an idea that I love and have in my own work too with paper.  I bought a pin cushion filled with fine sand which helps to sharpen the pins and needles (I always seem to blunt mine somehow!) as you use it and is also very helpful to use as a weight when crafting.

Home Grown Designs


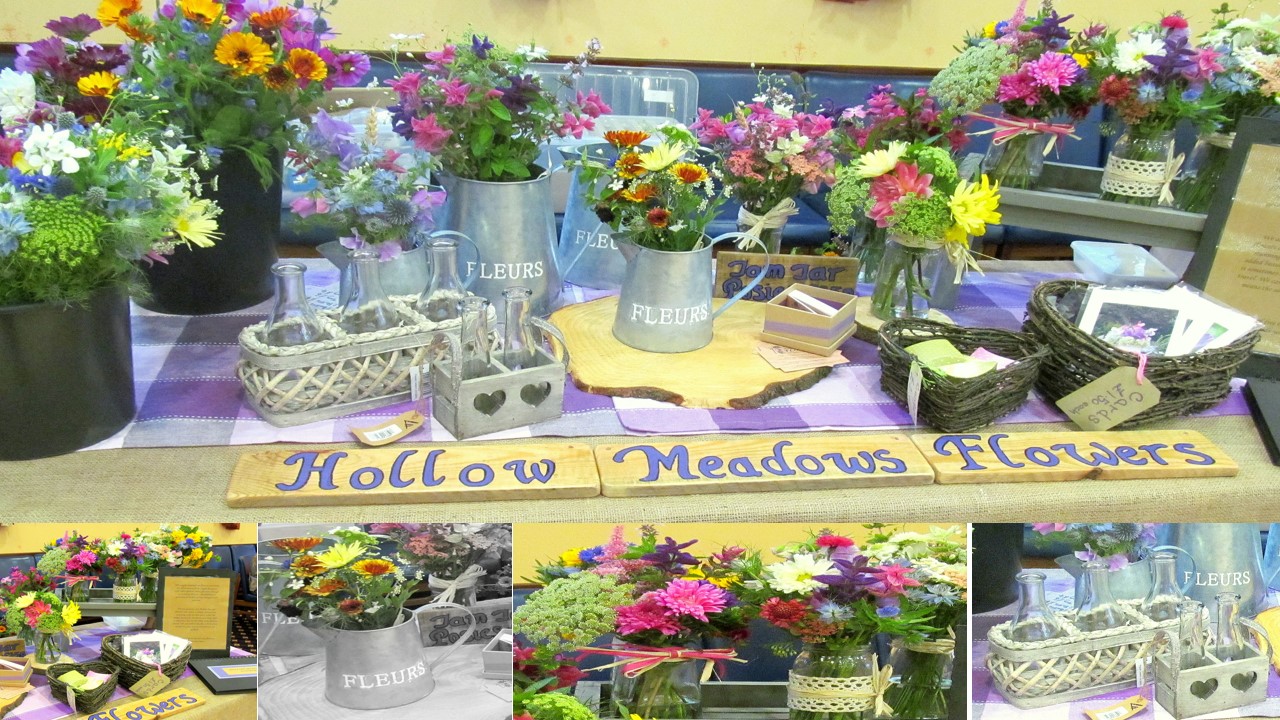
Hollow Meadows Flowers was a stall I'd seen before at a similar market in Hillsborough where I'd admired the wild flowers and country garden look. I had a chat with Rachel whose stall it was and she told me about the more natural and unstructured look of her flowers which she grows herself. I even treated my mum to a bunch!
Hollow Meadows Flowers


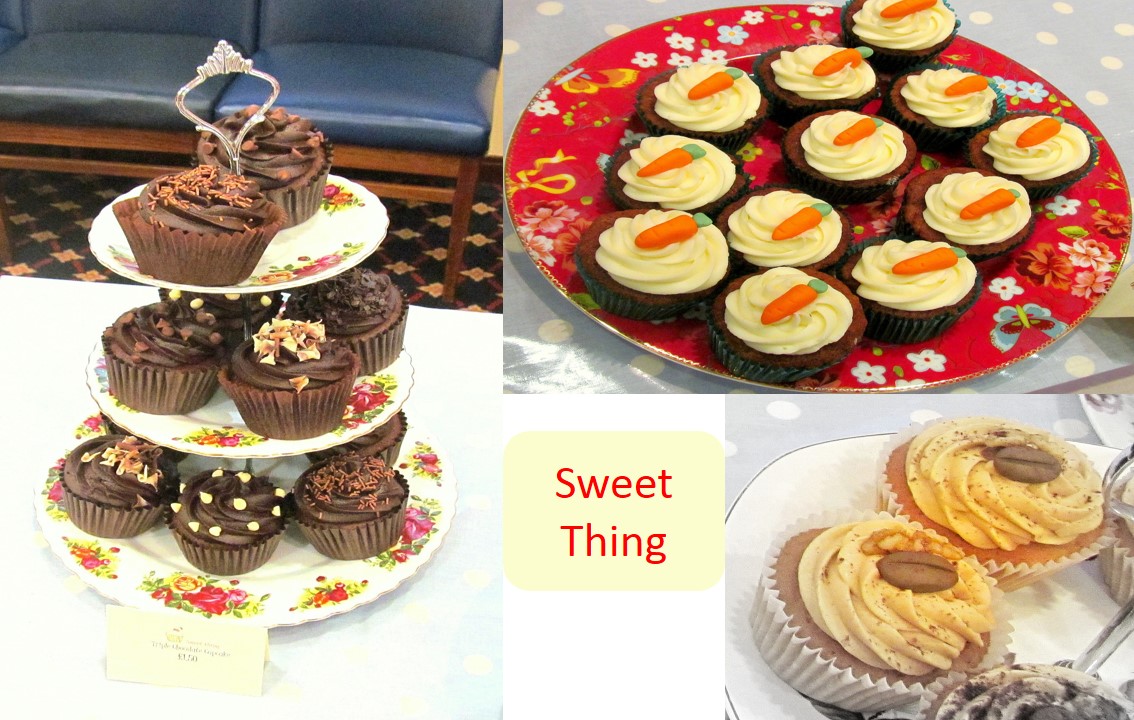
My attention was then caught by Sweet Thing - it was a stall full of cupcakes after all! There was a whole selection of delicious looking cakes; the chocolate ones looked particularly appetising (and tasted just as good as they looked).

Sweet Thing

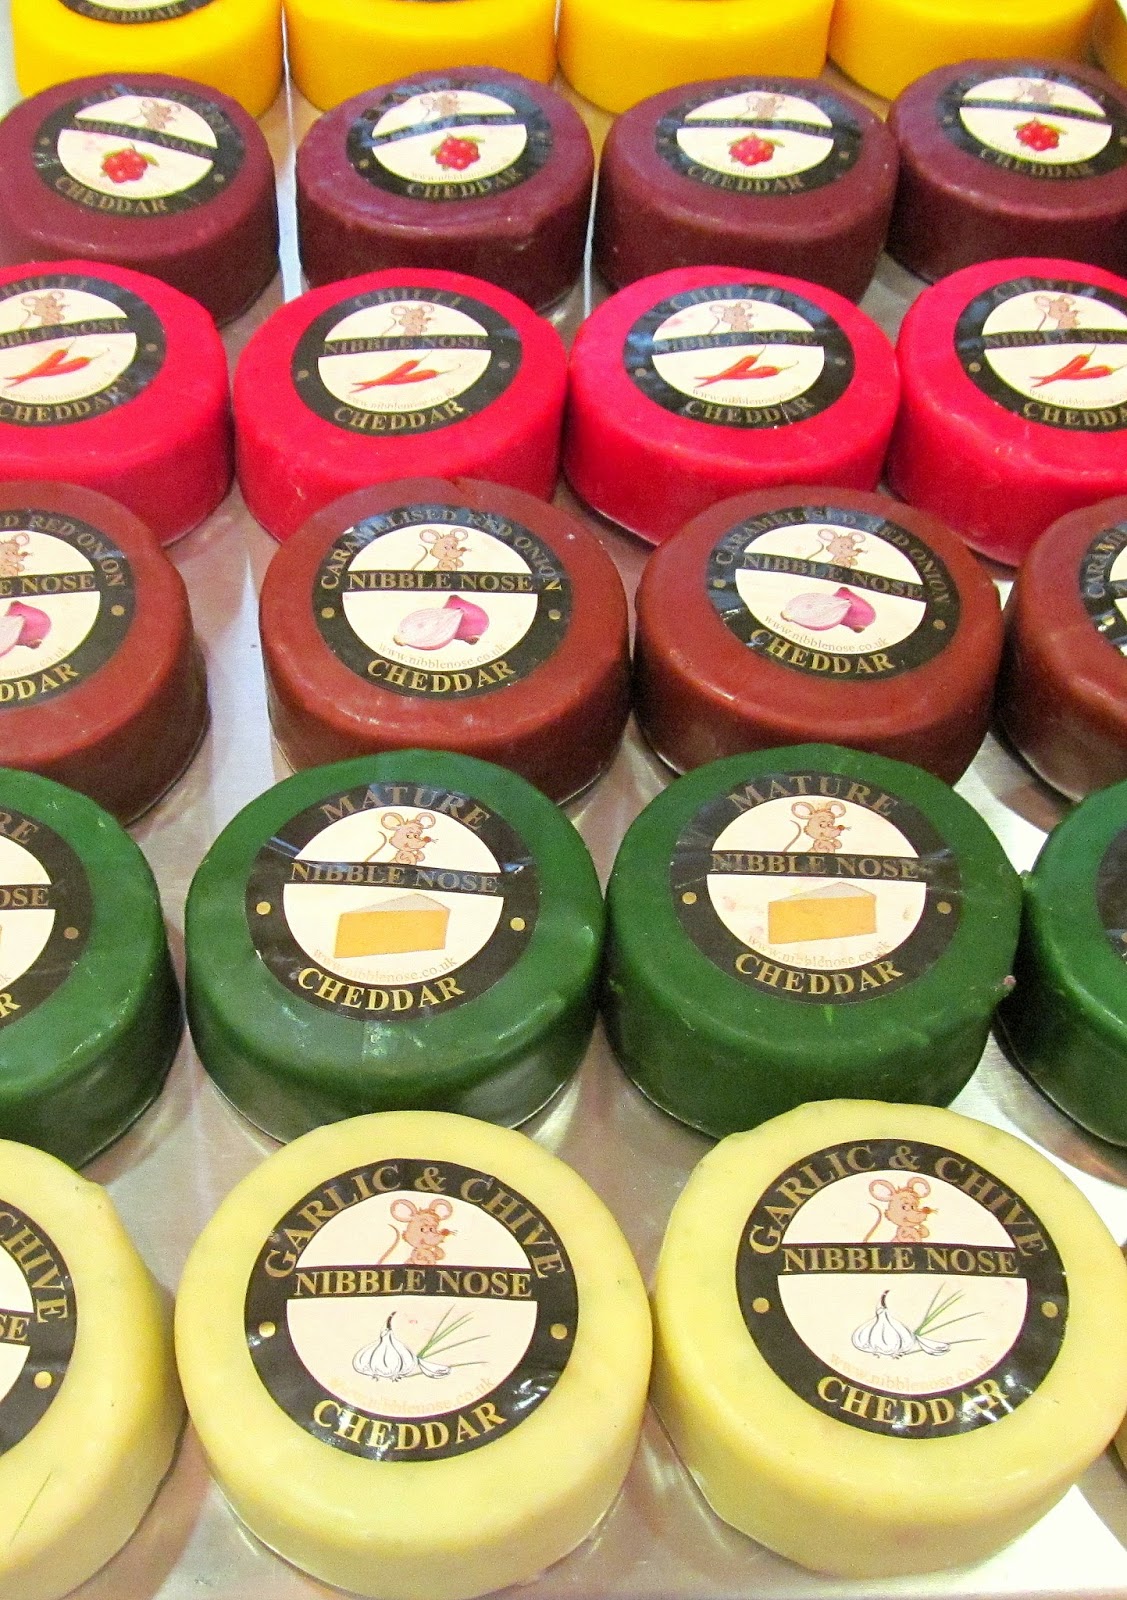
Their neighbour offered Nibble Nose cheeses, bread and cakes. I very much enjoyed sampling the handmade cheeses and couldn't resist a tasty caramelised onion cheddar which somehow made its way home with me...
Nibble Nose cheese

And finally I had a chat with Roy at The Olive Tree Soap Co.  He makes a tempting range of soaps using olive oil and all natural ingredients using the cold pressed method which takes 8 weeks to make it rich and lathering. This means that no additives are needed in it so it's much kinder to skin. There was a lovely range of gorgeous scents and I had trouble choosing but finally bought some olive oil soap for myself.  One other intriguing scent was choco and beer which I got as a little gift for a friend.

The Olive Tree Soap Co


Well, I thought it was finally until I learned about the stuffed vines leaves offered by The King Olive, a tempting stall with a variety of olives, stuffed peppers, homemade baklava and Turkish delight as well as the delicious stuffed vine leaves which ended up as my lunch (and were eaten before I got chance to take a photo!).

There was also my stall there with my usual range of upcycled and handcrafted cards, gift wrap and jewellery.

Pink Flamingo Handcrafting Tapton Farmers Market

So, an unusual prospect turned into a very enjoyable day finding lots of Sheffield's unique gems on a weekday.

Another market takes place on September 3rd and on the first Tuesday of every month at Tapton Hall, Shore Lane, Sheffield. Although it's only a small, local market, there are lots of wonderful things to discover.

All the stall holders do regular fairs in and around Sheffield too so there are plenty of places to discover them for yourself if you can't make it on a Tuesday.
Tuesday, 6 August 2013

Creating Unique Home Decor

One my favourite things about having a stall at a craft fair is being able to talk to my customers. It's nice to hear what they like (and don't like) about my products and they inspire me with their suggestions about what they would like to see and how they will use the items they buy.

At a recent fair my upcycled luggage label gift tags proved popular. I make the tags using a luggage label with string and decorating it with old maps, dictionaries, stamps and adverts all relating to a certain place.  I love the idea of using them on a special gift for someone who has memories and associations with the area as it can then be kept as a little souvenir of the place and the occasion the gift was for. And a lot the visitors to my stall loved this too.

unique home decor - upcycled tags
Some of my upcycled luggage tags.  From left to right: a French map, stamps and adverts; Yorkshire tourism adverts from old envelopes; Yorkshire adverts and UK stamps. 

However, some of my customers had other ideas! I was intrigued to listen to people talking to their friends about what they could be used for - and then join in the conversation. When you make something it's very easy to get 'stuck' in the idea of what you think they are, thinking that they have a particular purpose. And so these interesting customers and their wonderful ideas got me thinking... what alternative uses are there for these tags?

The following pictures and ideas are a mix of what I've heard at craft fairs and some my own inspirations.

Luggage tag pictures

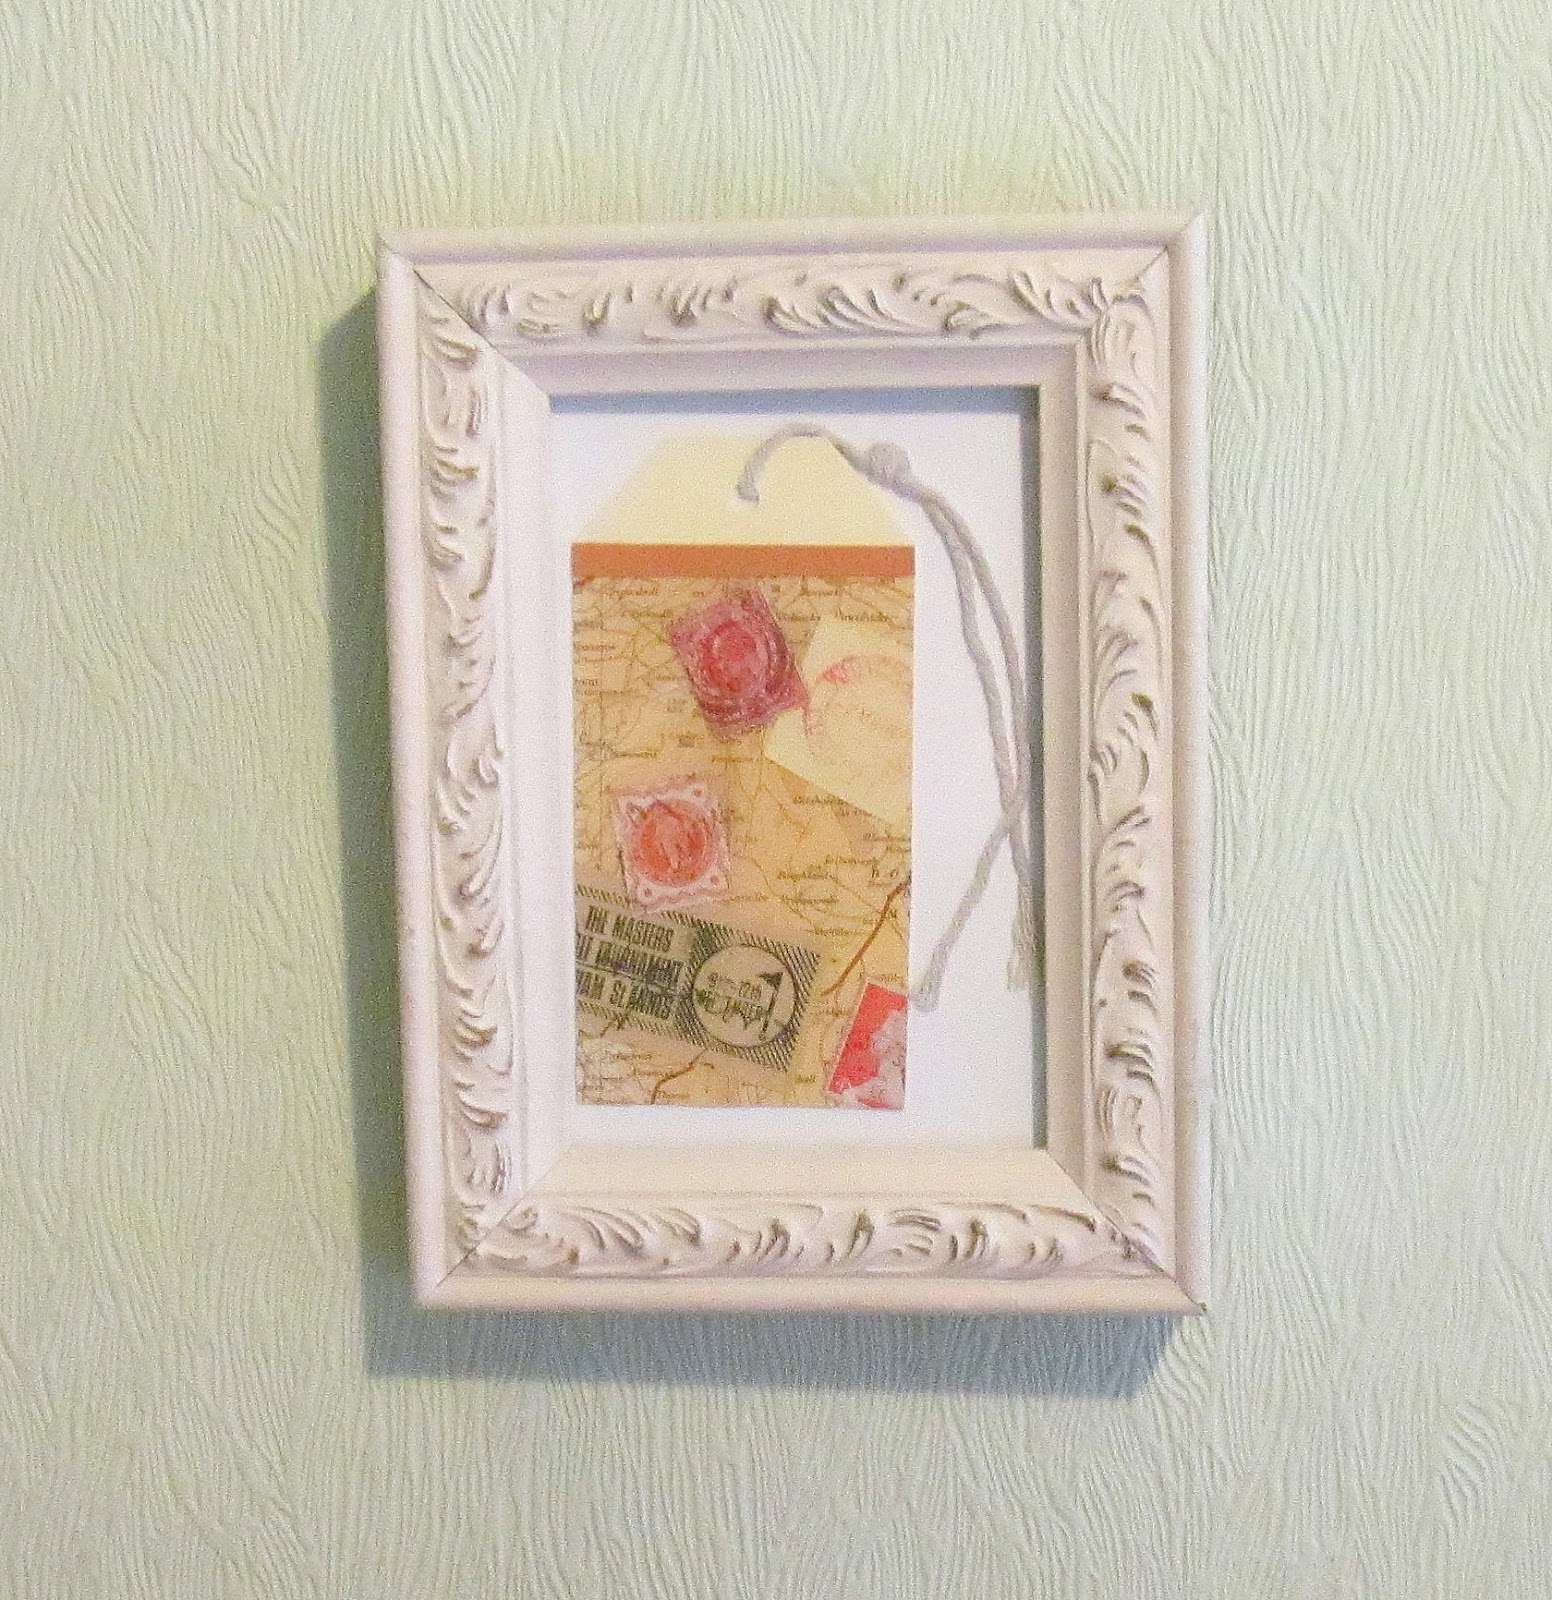
The tags look nice displayed as art in picture frames.  Here I've just added one but they also look good in groups or in a photo frames with separate sections for each picture.  Again, they can create a personal memory of a special place or even be added to a set of photos of the places on the tags.

holiday memories


Luggage tag bookmarks

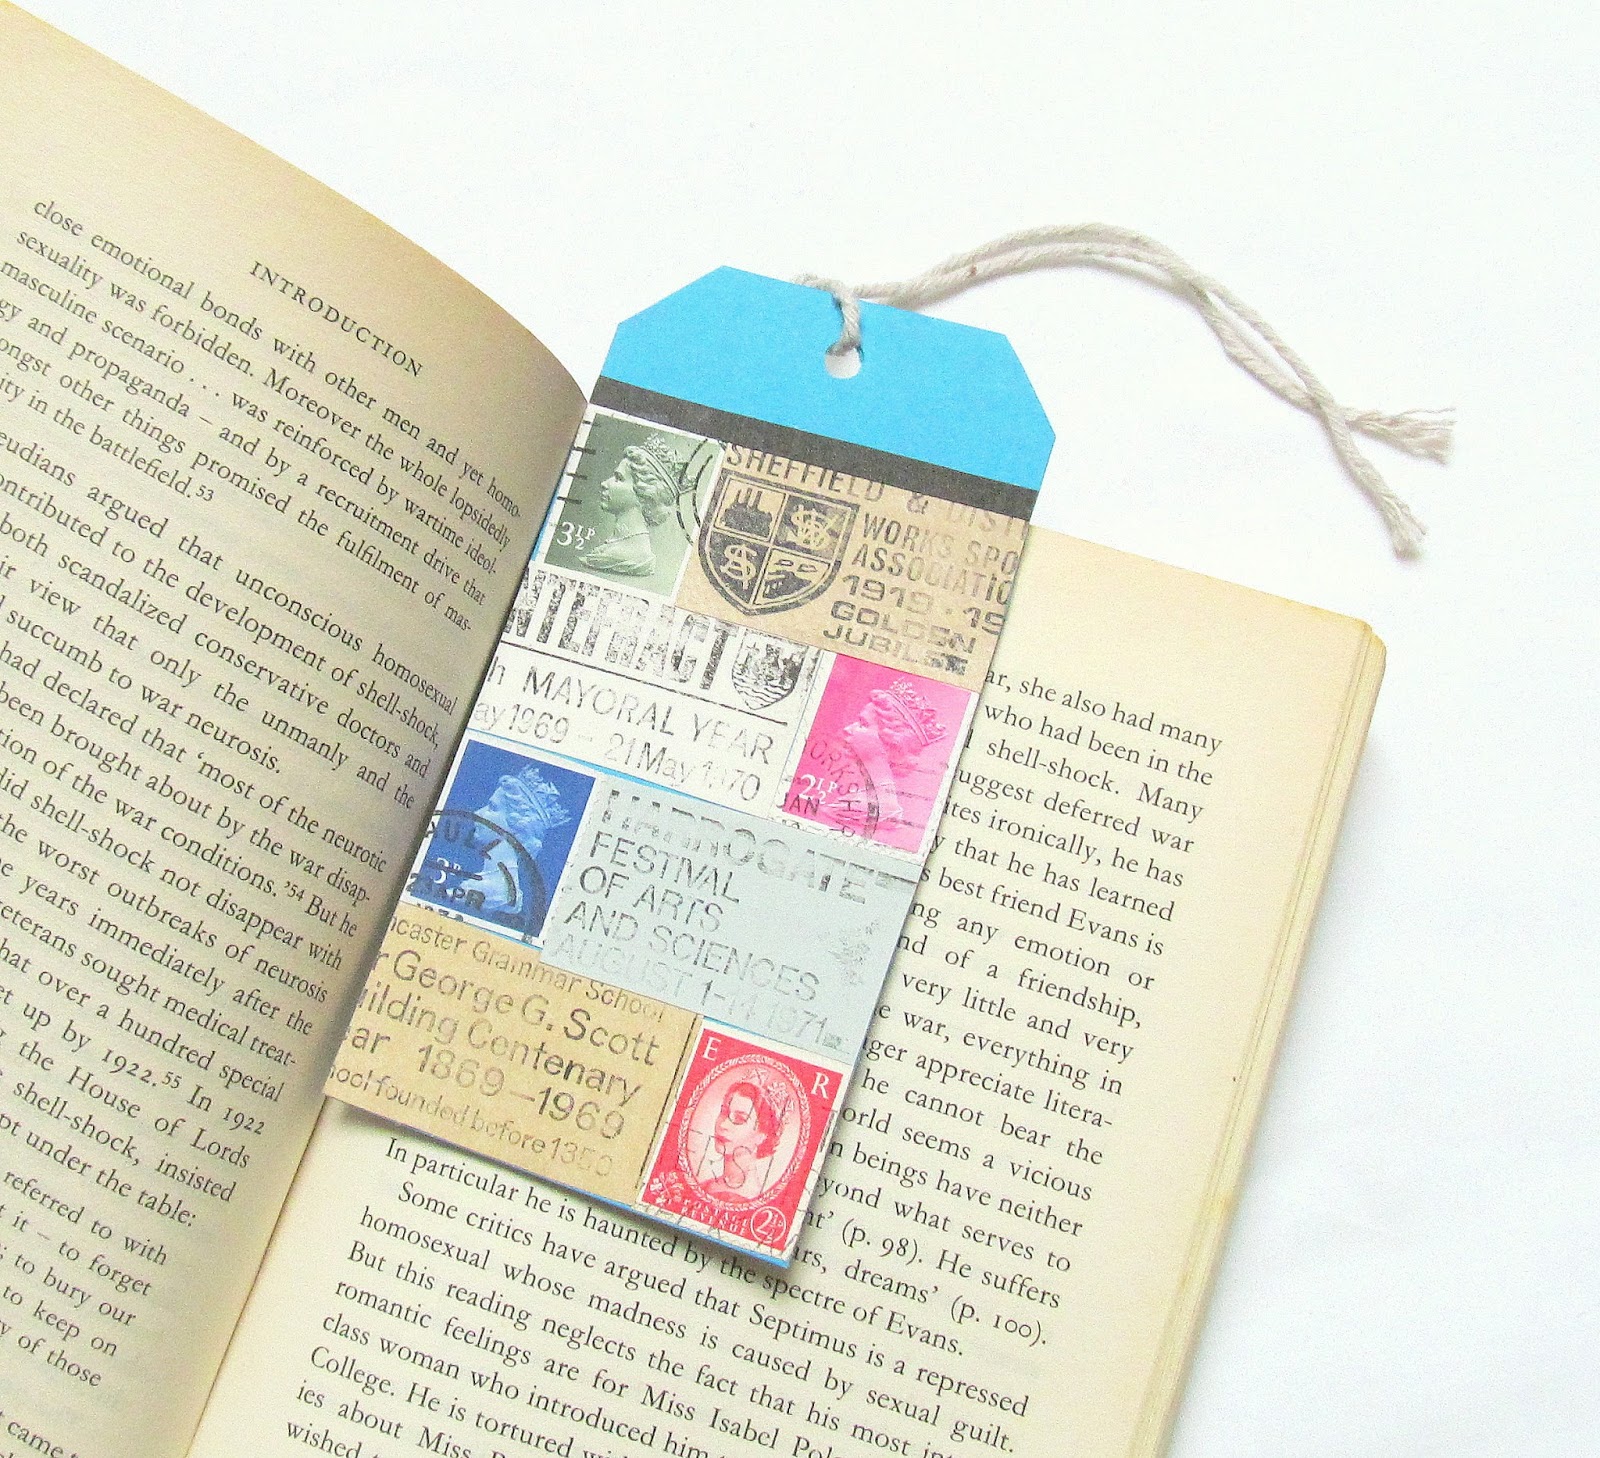
Another use for the tags is as a bookmark.  They're an ideal size for marking a page and the string makes it easy to find your place as it stops the tag slipping down.  One person who bought them was going to use them like this to send to penfriends with local images on them as a unique and personal gift (and they're easy to post!).

unique home decor


Luggage tag bunting

Either as a decoration for a party or a permanent part of your decor, the tags look pretty used as bunting.  In this picture I've used a mix of tags from the UK and France which would be a good memory of holidays and home! I've simply used small wooden pegs to fix the tags onto a length of ribbon. They could also be tied to a long piece of ribbon or string with the strings already attached to each tag. If they are pegged in place as bunting they can still be used as tags too!

unique home decor


Or, of course, they could just be used as gift tags!

I love the idea of my work having other uses as it ties in with the idea of upcycling and reusing - not throwing away items just because they've served their first purpose. And gift tags which have been attached to a present from a loved one make great keepsakes too. So thanks to my customers for opening my eyes to my own designs!

Sunday, 4 August 2013

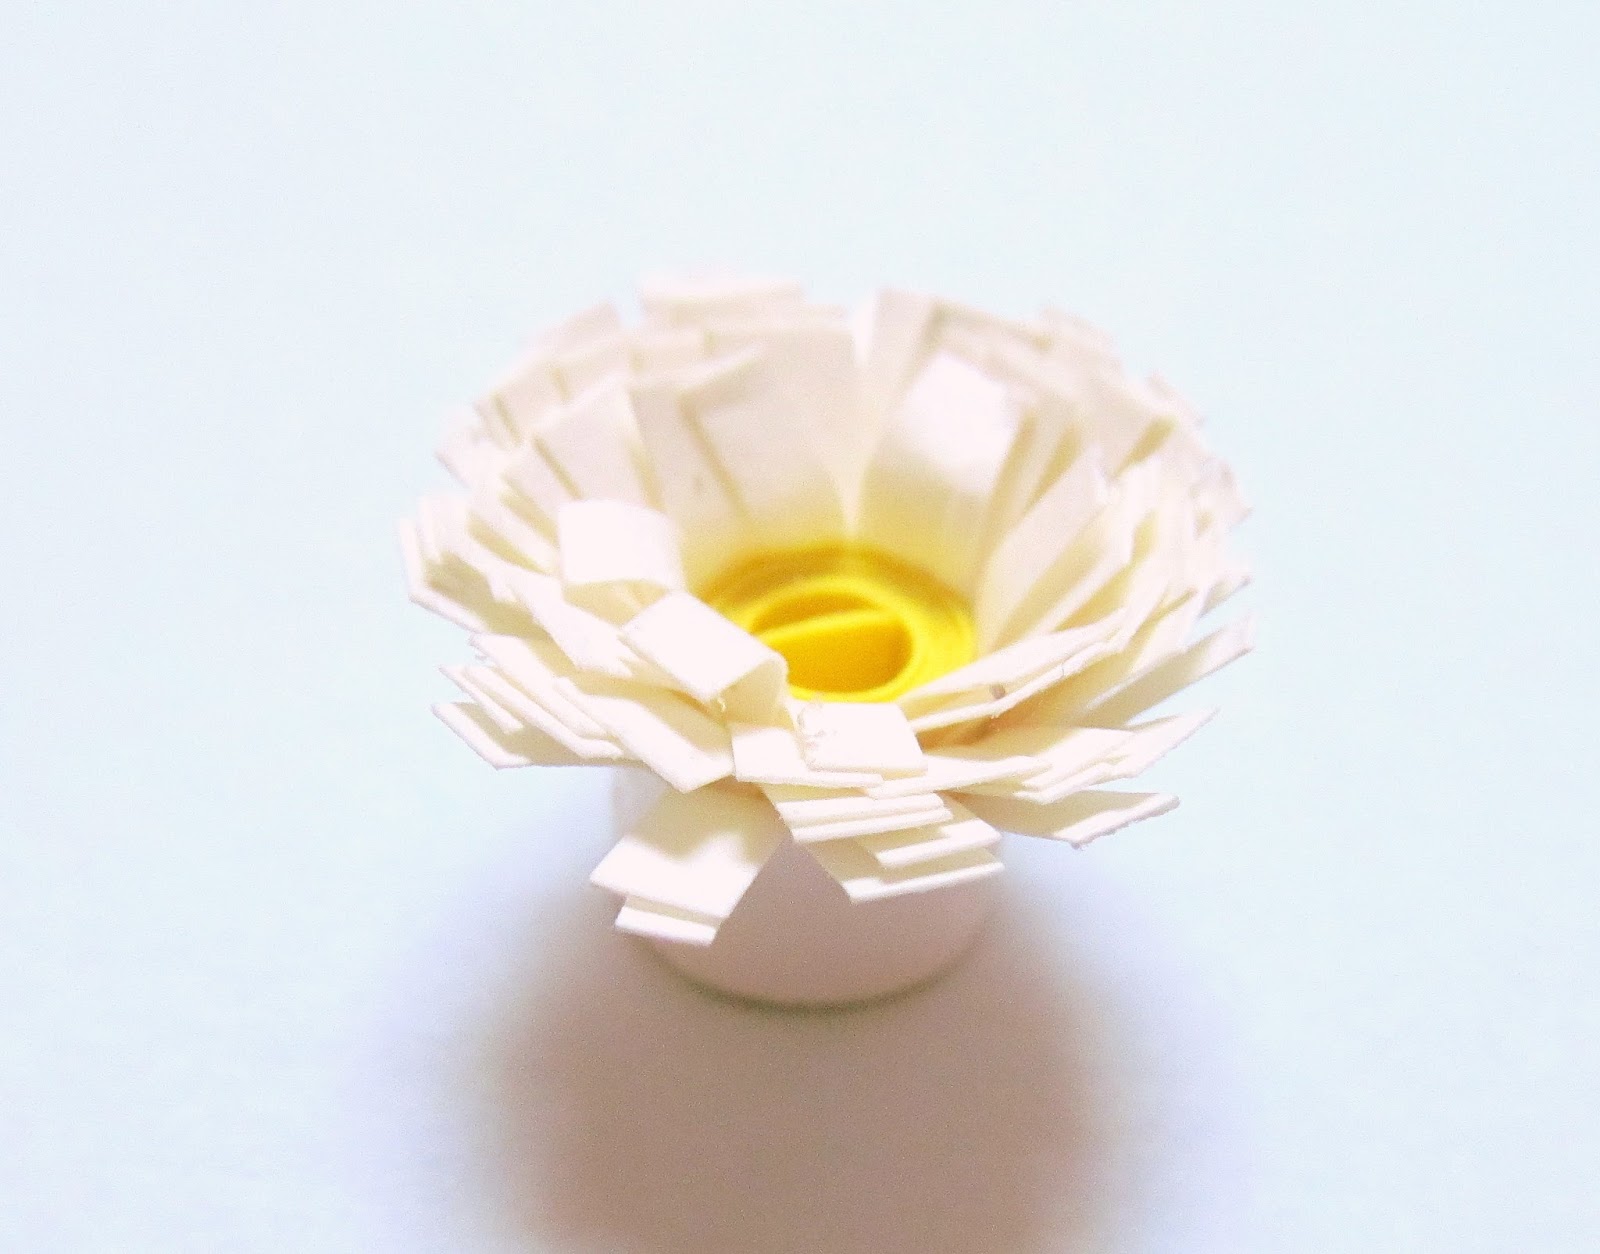
How to Make a Paper Daisy

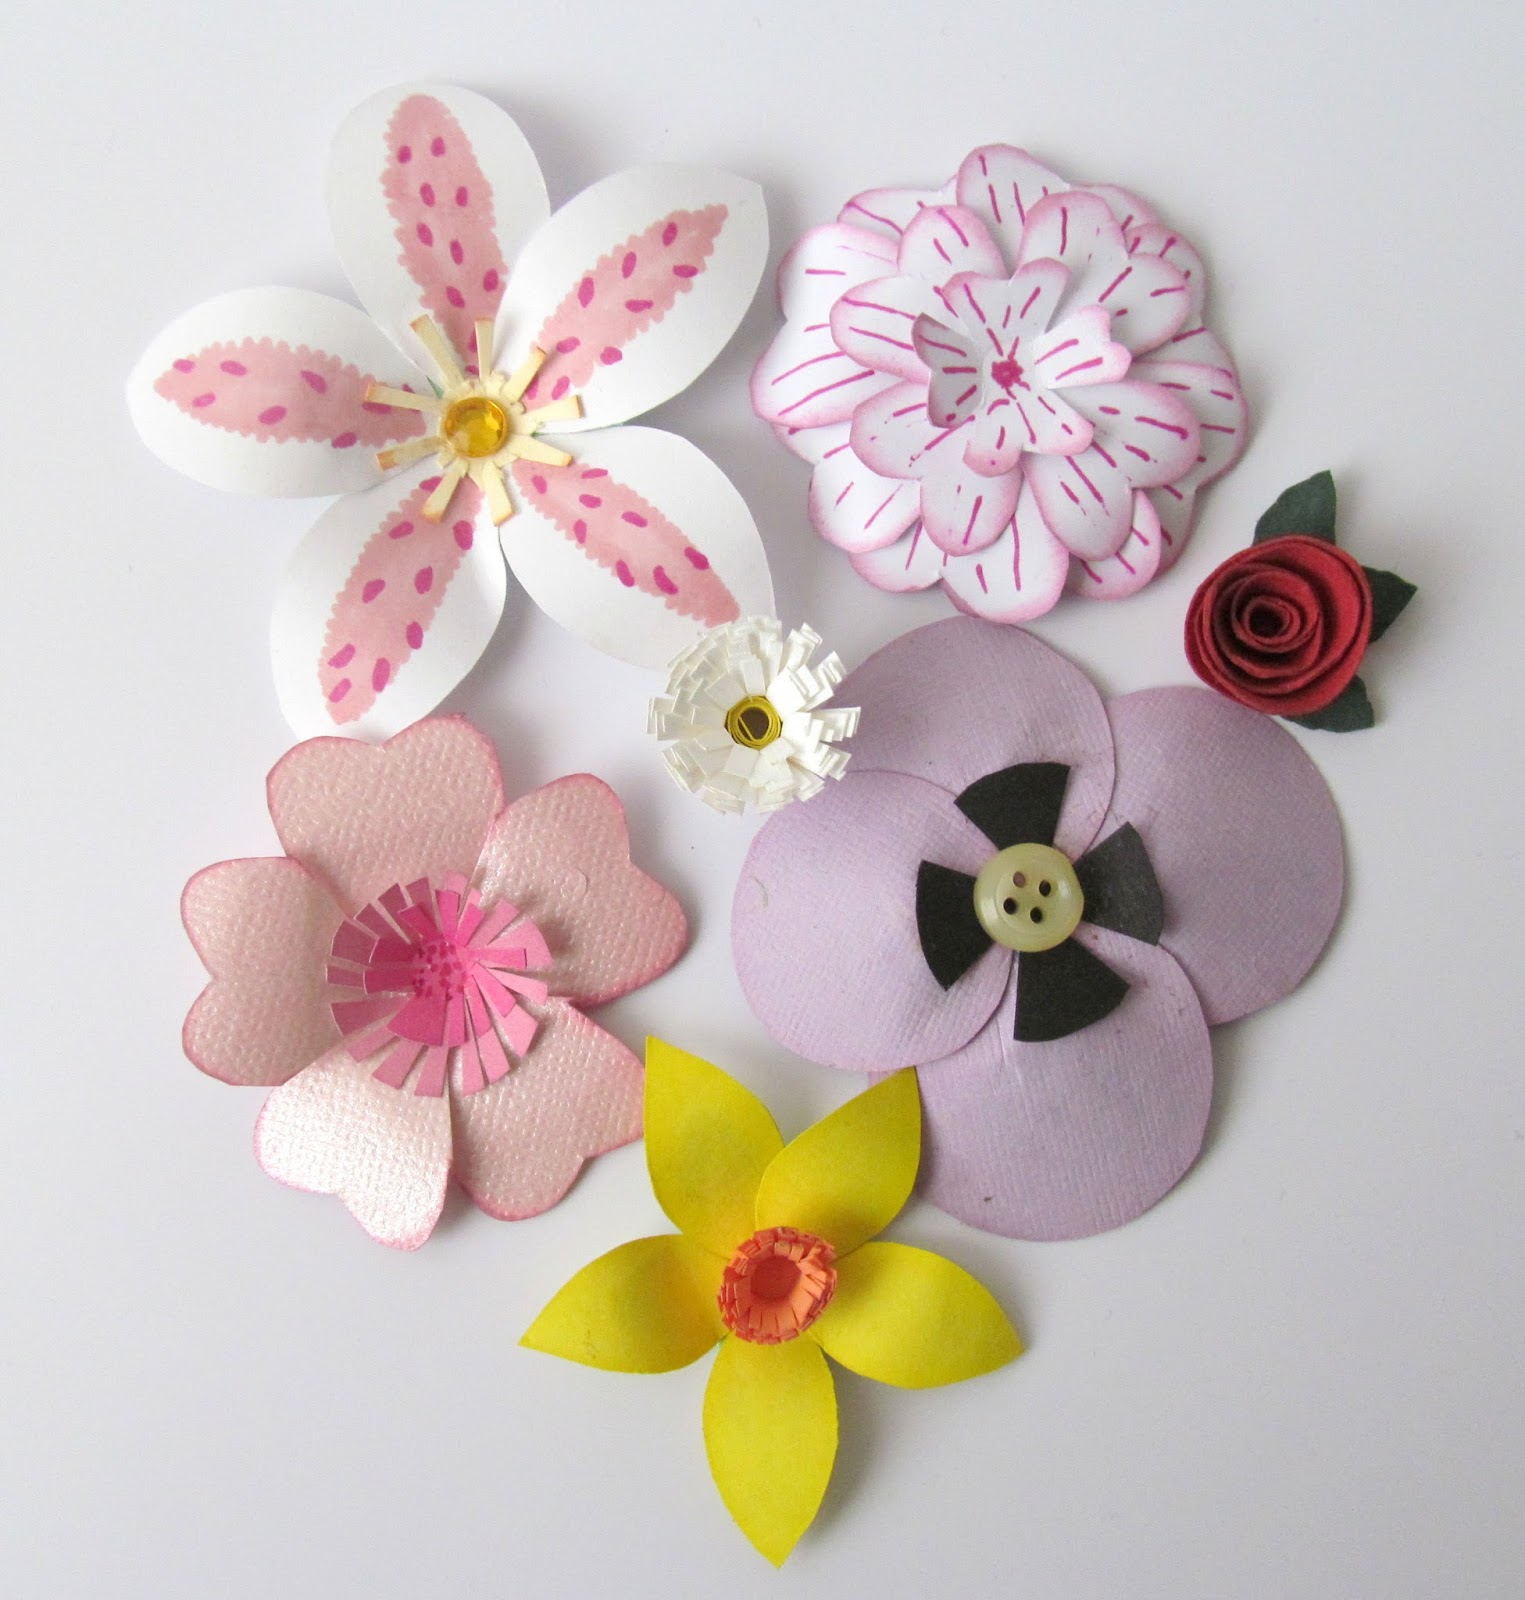
I love making paper flowers.  I can spend hours playing with different papers trying to create a whole garden's worth! I think they're great to add to cards, tags and gift wrap to make a pretty statement and add dimension. When I was little I had a kit where you could make flowers out of tissue paper, I think that's where it must have started.

handmade paper flowers
A selection of my handmade paper flowers.

One of my favourite flowers to make is a daisy. They're such simple little flowers and have that association of making daisy chains in childhood reminding me of summer days. They are also very effective in a crafting project and look impressive - and they're really easy to make which makes them even more appealing!

Here's how to make one of your own...

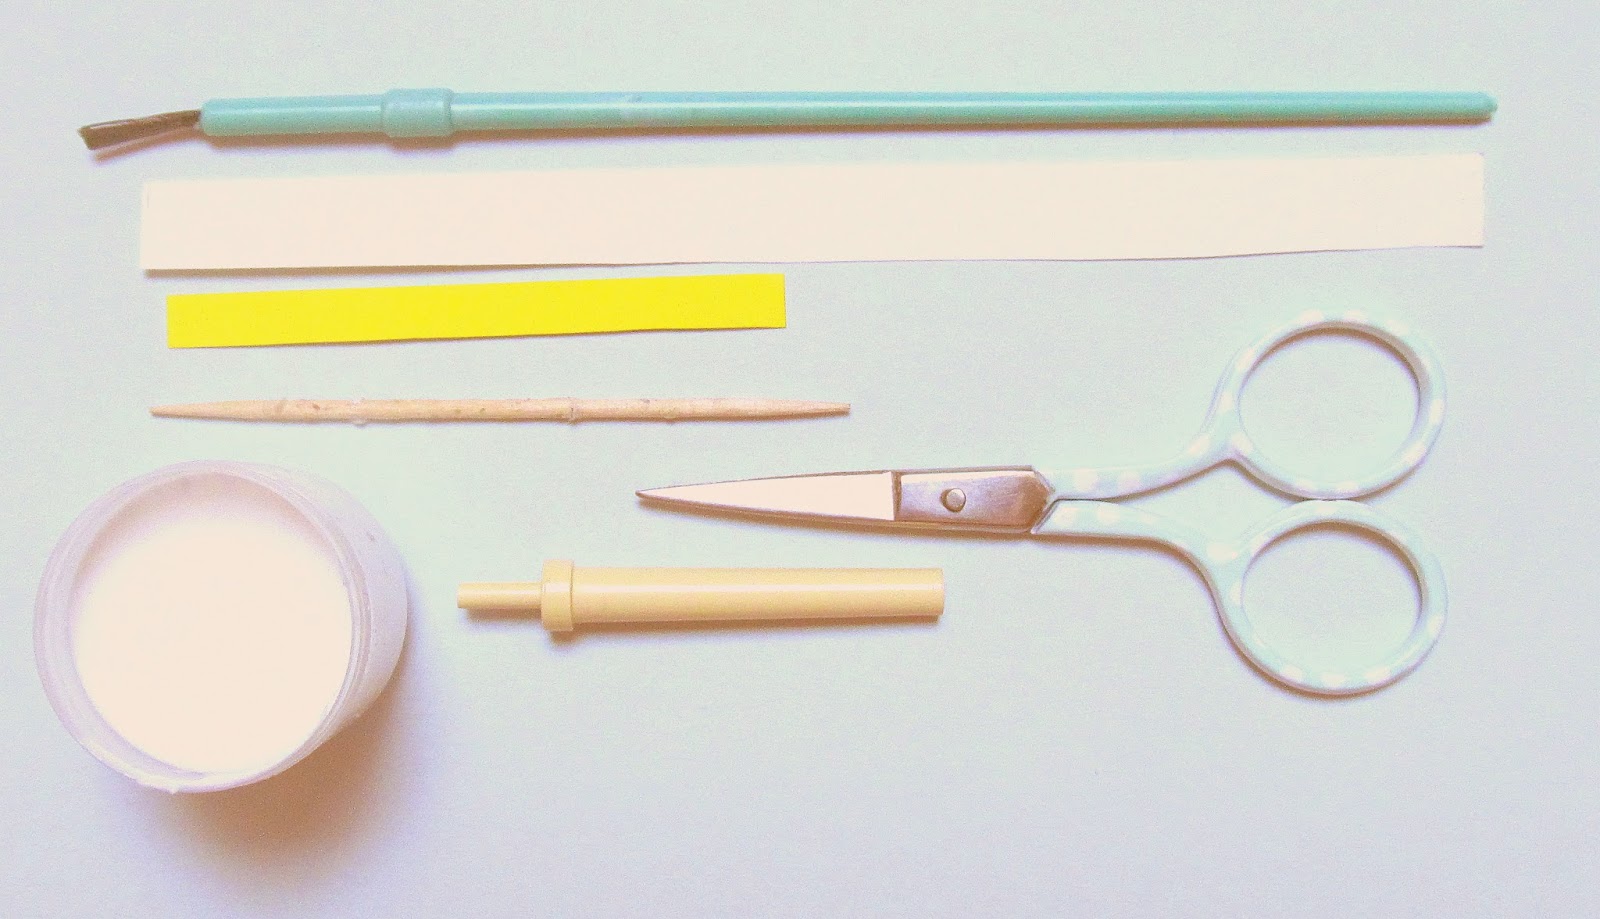
You will need:

How to make a paper daisy


A strip of white paper 150mm long and 10mm wide, a strip of yellow paper 70mm long and 5mm wide, scissors, a quilling tool or cocktail stick, glue.


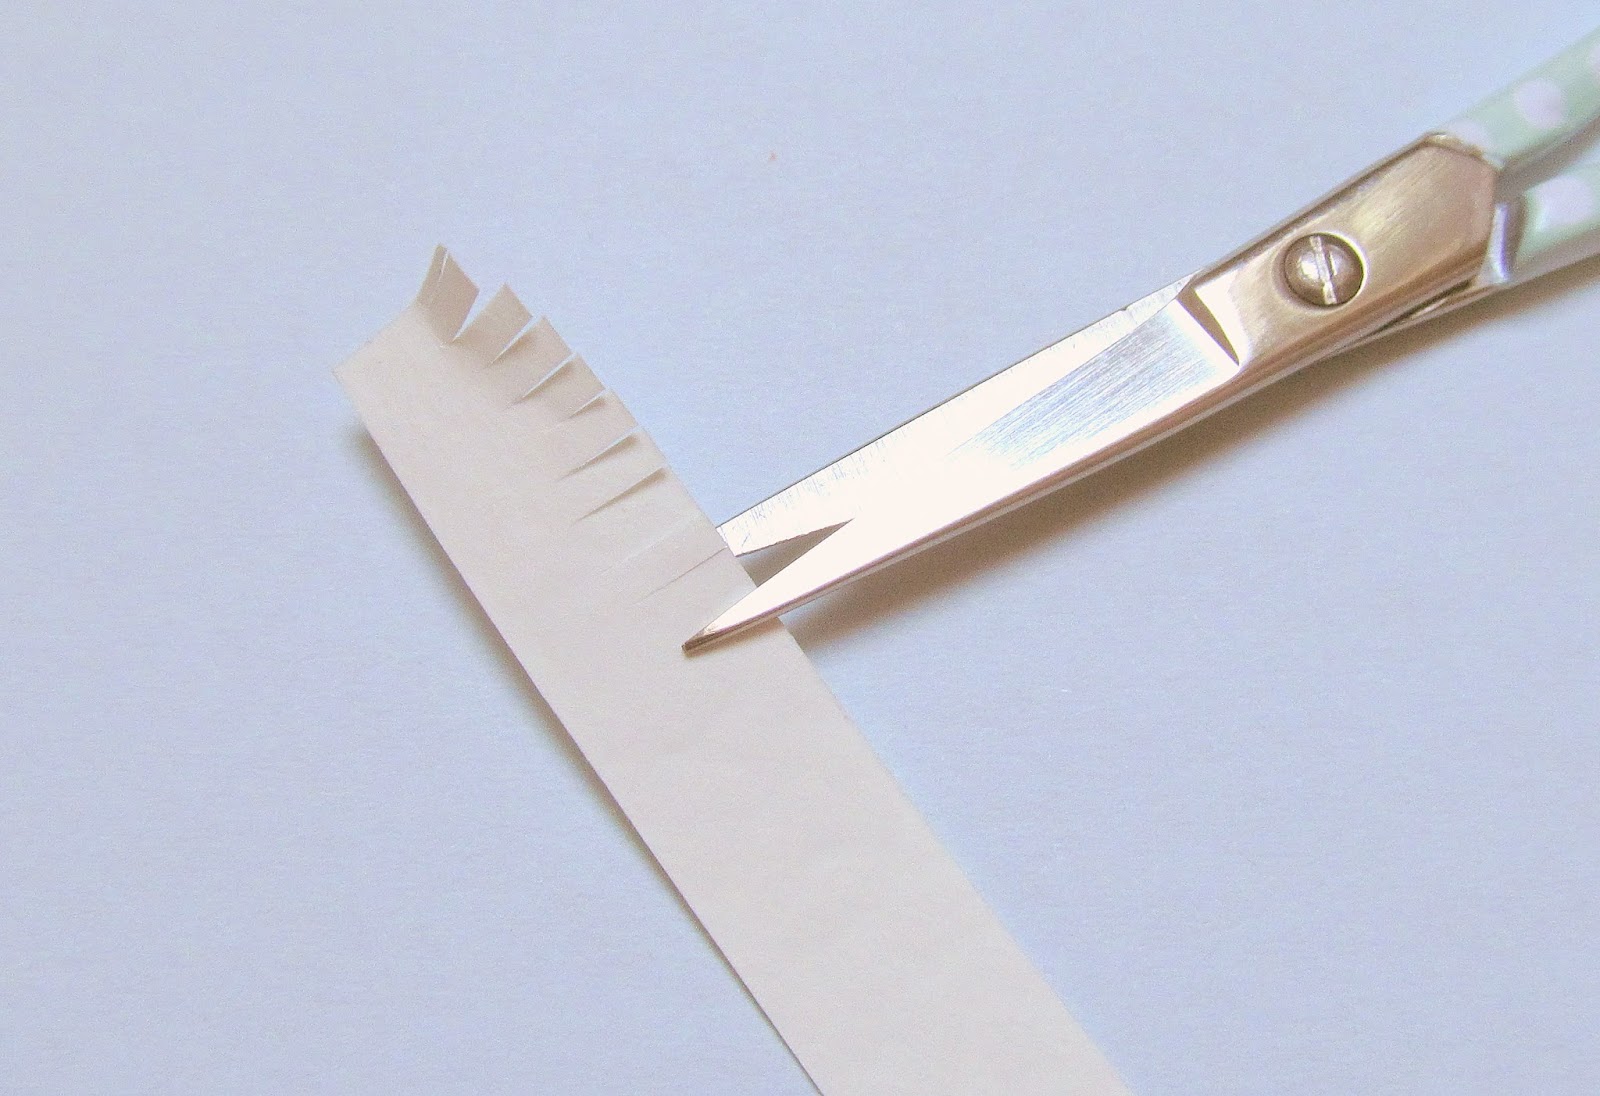
1. Take the strip of white paper and using the tip of your scissors make small cuts along the length of one long edge. Make sure you only cut half way across so that the other long side remains as it started. The cuts need to be only 2 or 3mm apart.

How to make a paper daisy


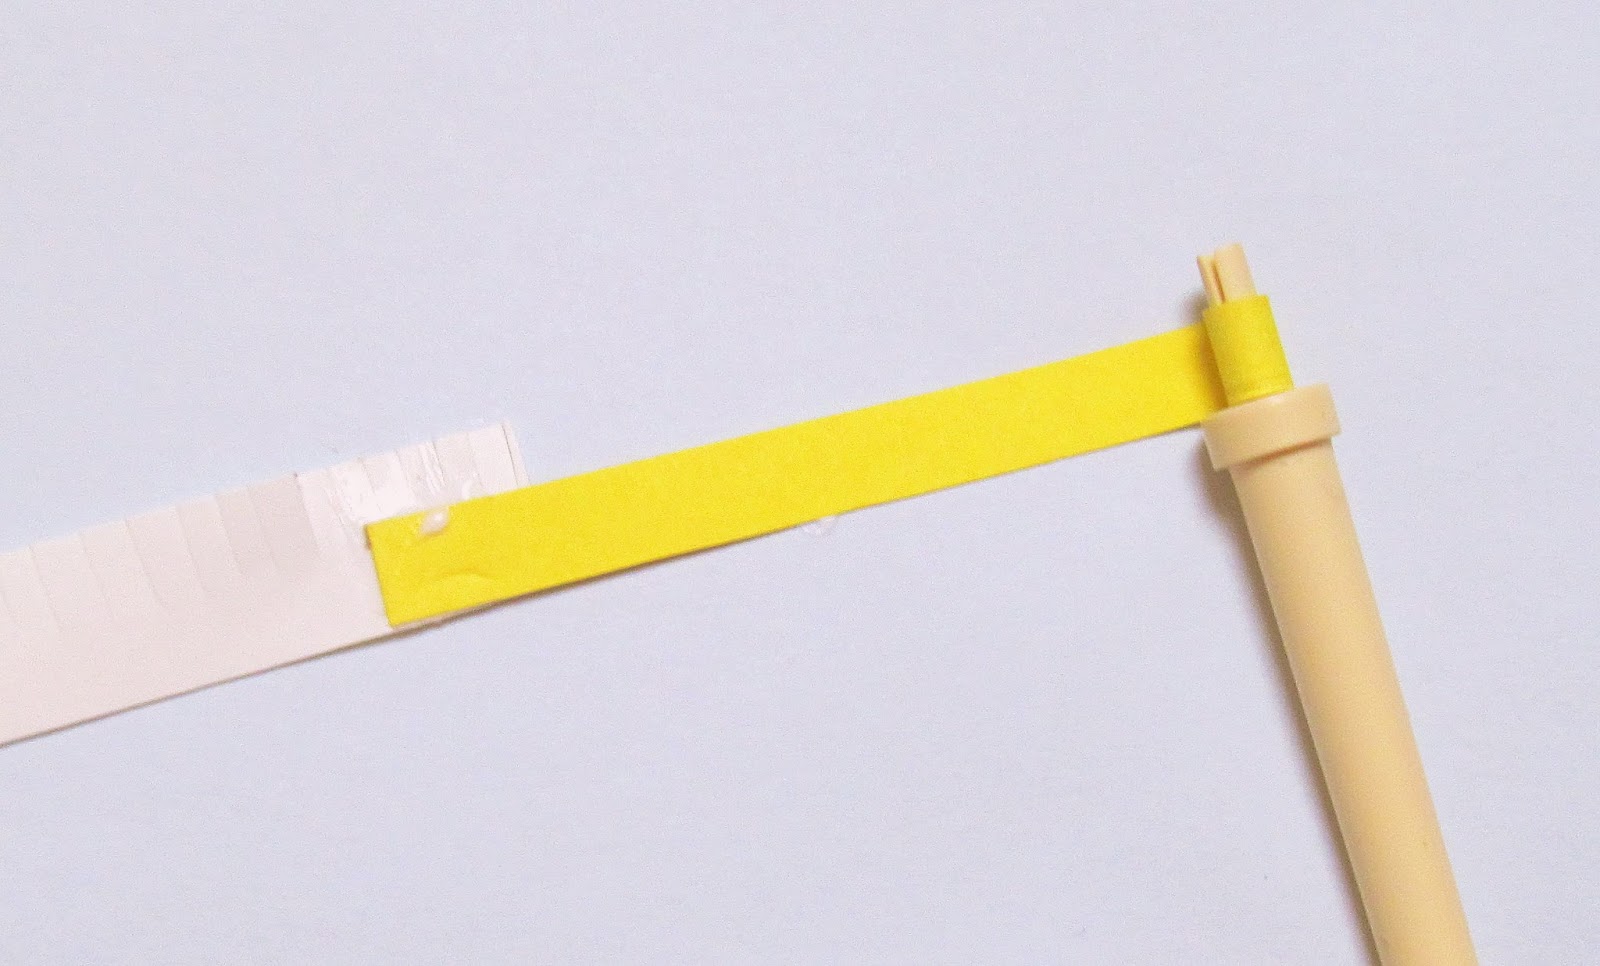
2. Get the strip of yellow paper and place it on the white strip at one of the short sides overlapping it a little. Make sure the 5mm width of the yellow paper is lined up with the uncut part of the white paper and the two bottom edges are lined up. Glue the yellow paper to the white paper where it overlaps.


How to make a paper daisy

3. Place your quilling tool or cocktail stick at the end of the yellow paper which isn't glued down. Start to roll the paper up around the tool or stick.

quilled paper daisy


4. Continue rolling the paper.  Keep going when you get to where it joins the white paper.

quilled paper daisy


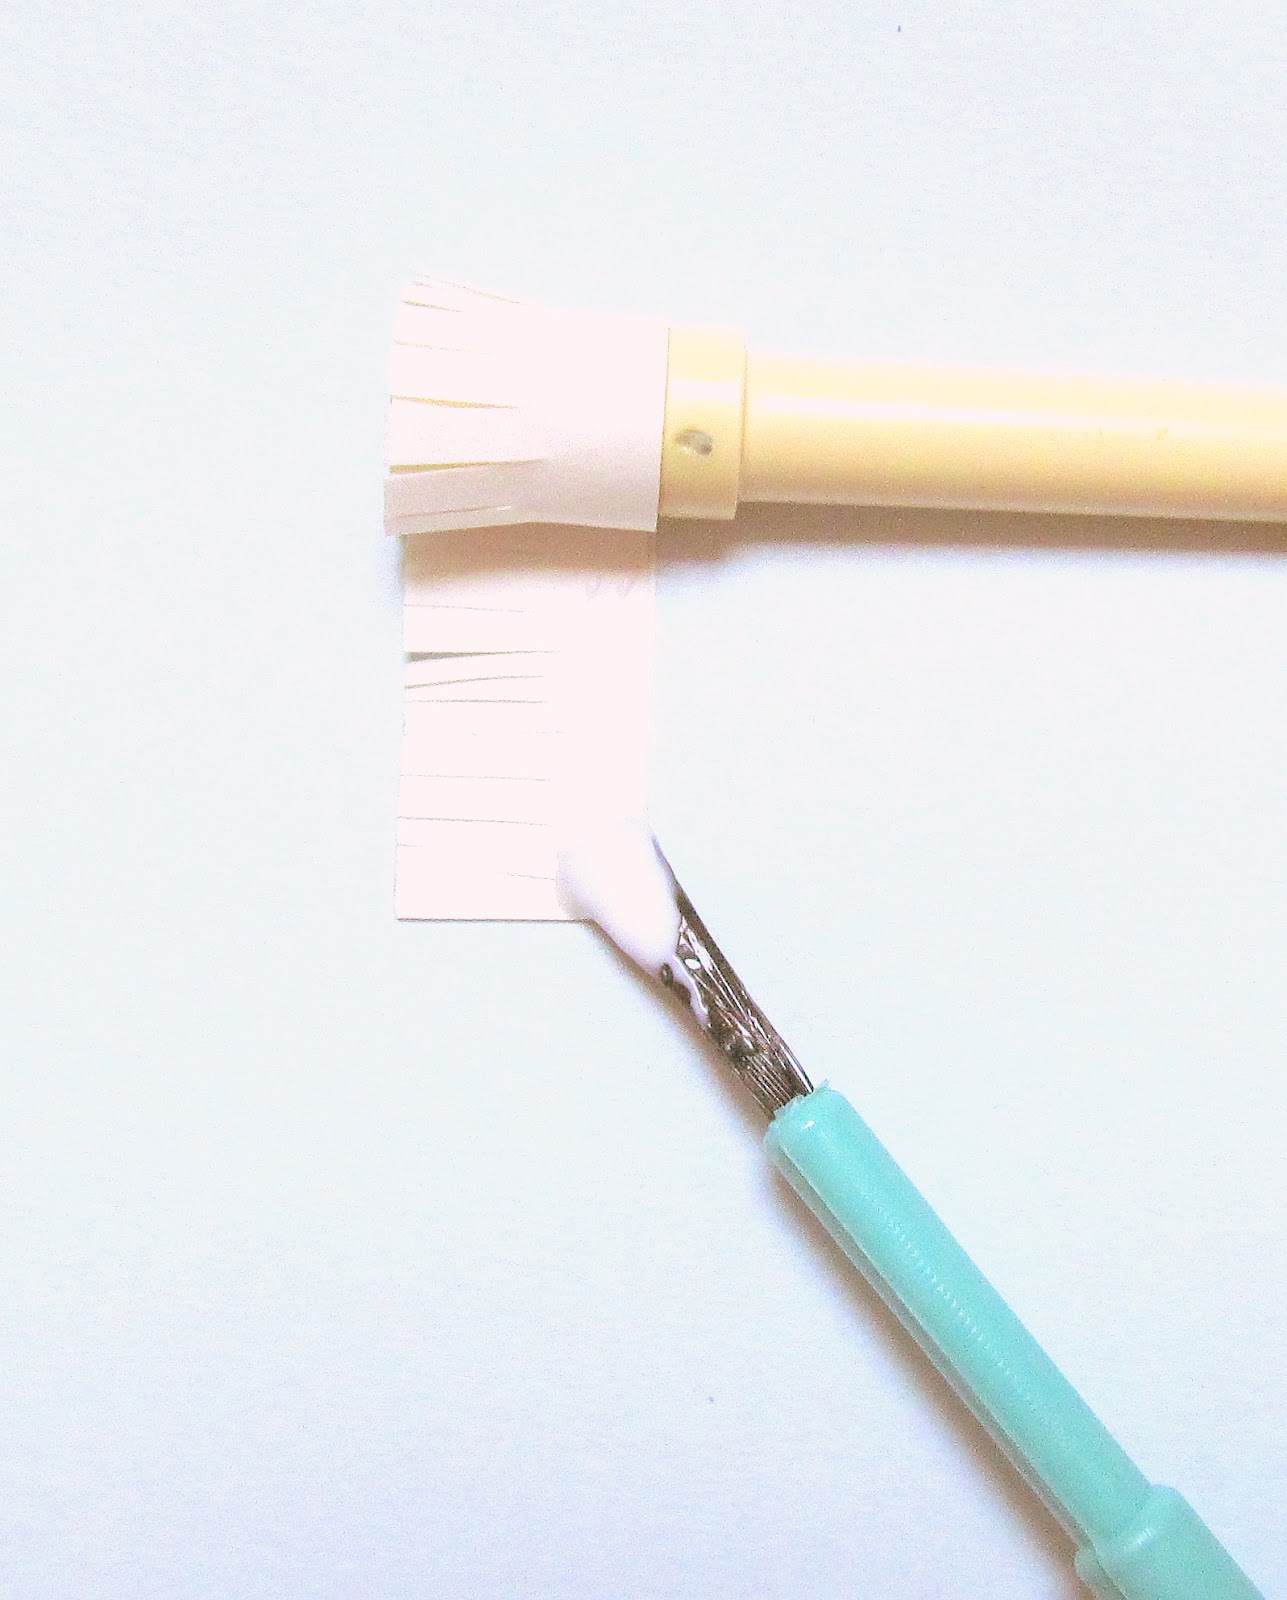
5. When all the paper is rolled up, glue the end of the white strip of paper to the rest of the flower.

paper daisy tutorial


6. Carefully remove the quilling tool or cocktail stick.  Use your fingers to spread out the 'petals' of the daisy.  You're done!

paper daisy

You could also try:

  • using different colours of paper;
  • inking the edge of the petals when you've finished (I love when real daisies have a pinkish tinge to the edge of their petals and it looks really good on paper daisies too);
  • making an upcycled one - they look great made using old book pages; 
  • varying the length and width of paper - just be aware that the bigger the paper, the 'bulkier' the flower which could get a little difficult to handle when rolling;
  • adding glitter glue to the edge of the petals of the finished flower for a sparkly effect - this looks especially nice if the colour of the glue is the same as the colour of the paper.

Saturday, 3 August 2013

A Little Gift of Creativity

A couple of weeks ago I had a stall at a craft fair and I included an item I don't usually have on offer.

I'd dedicated the stall to upcycled items I'd made and I loved sharing my products and the conversations with customers about how unique the items were as well as the stories about how each card or gift related to the recipient. I also loved sharing ideas and listening to how other crafters like to upcycle too.

used postage stamps
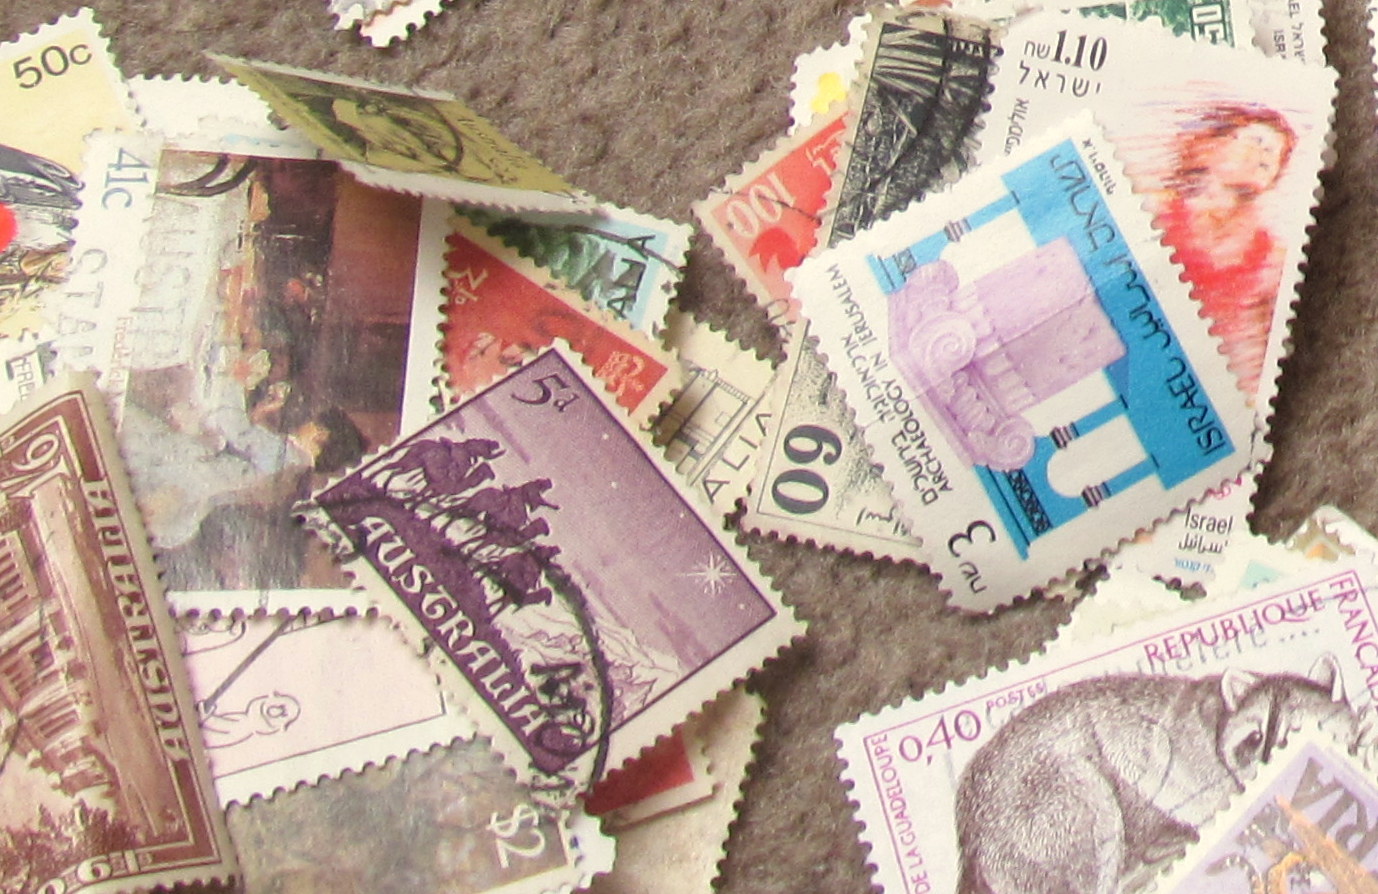
Some of my stash of stamps


Amongst the items on my stall I placed a little bag of used postage stamps.  It didn't look out of place as I had some other bags of goodies ready to be upcycled too. However, this item was different.  Instead of having a price tag in the corner, on the back was a message waiting to be read.  It said:


'These stamps are free to a crafty home.  All I ask is that when you've made something with them you send me a photo that I can share.'


A couple of people looked at them, but didn't turn them over.  I didn't want to point out the message sticker; I wanted it to be a little surprise for someone.  Then along came (another) Laura.  She picked up the little packet and told me about how she loved postage stamps and had seen a mirror whose frame was covered in them. She also said she wanted to have a go at making one too, so I thought the perfect person was here. But then she put them down (without turning them over) and walked away!

However, this wasn't the end of the story for the stamps.  It turned out Laura had a stall at the fair too for her own craft business Sat Amongst The Stars. And later that day her mum returned to my stall on her behalf to buy the stamps - and that's when the message was discovered! I was told that Laura was crafty and would put the stamps to good use and since that day I've been patiently waiting to see the result.  And this week I saw it!

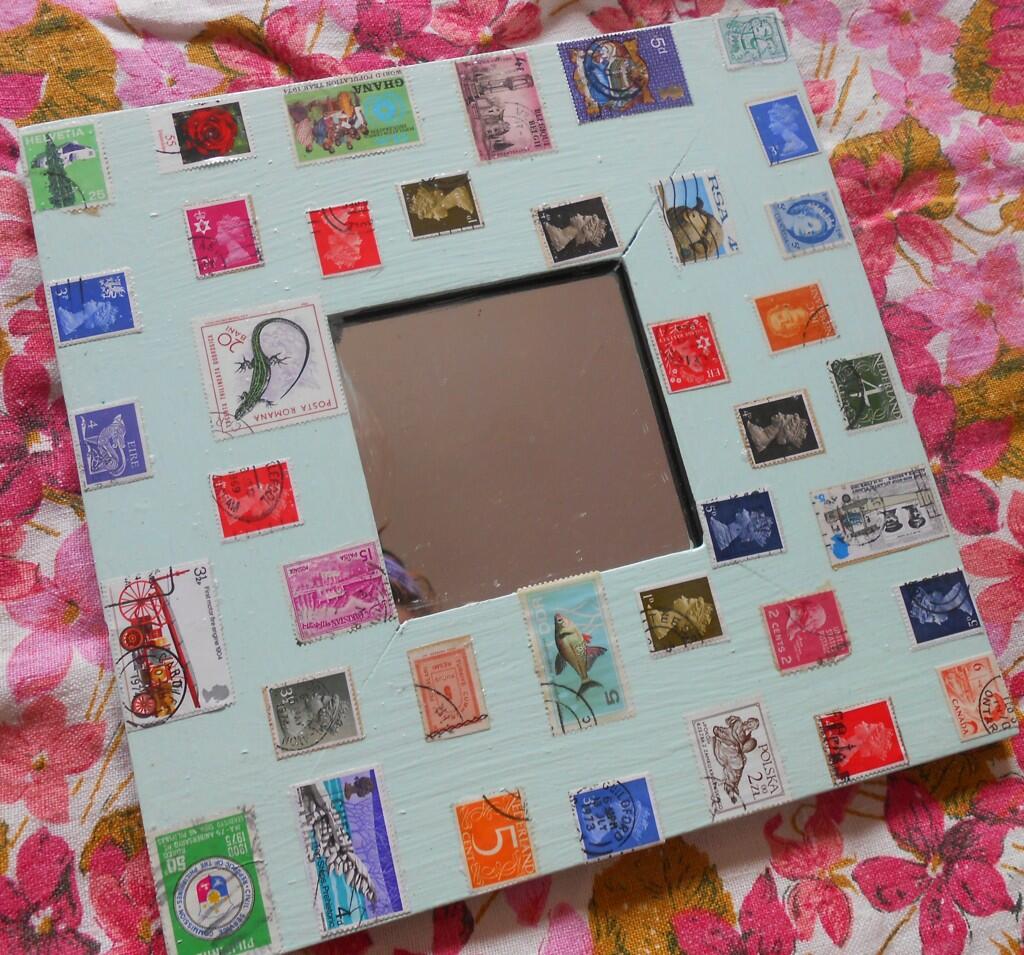
Laura tweeted me this picture of the fantastic mirror she made by incorporating the stamps - just like she said she wanted to do!

upcycled mirror
Laura's postage stamp mirror.
                                          

I love a bit of decoupaging myself so I was thrilled to see this.  Usually when I cover something with stamps I go a bit overboard because I want to use every colour and image! Laura however showed more restraint than I have and created this lovely pattern with them.

That's one thing I love about crafting and upcycling.  How two people can start out with the same materials and create two unique pieces.

So, that's the story of my bag of stamps which gave a little gift of creativity to Laura who kindly crafted and shared her unique work. 

If you'd like to see some of Sat Amongst The Stars' other work, you can do so here:
https://www.facebook.com/satamongstthestars

Friday, 2 August 2013

My Favourite UK Crafter of the Week - Unique Home Decor from Nikki McWilliams

Time for the second in my series of posts featuring my favourite UK crafters that I've found whilst browsing the internet - or 'researching' (that sounds better). There are so many gorgeous crafts out there and talented people who make so many unique and interesting products that I'm spoilt for choice. But this shop has biscuits, so it got my attention quite quickly!

This post is in no way sponsored or influenced.  Each post will feature shops I've found myself and genuinely admire.  The opinions are my own, the quotes are from the crafter. Here's this week's favourite...

Nikki McWilliams

I found Nikki's shop on Etsy while looking at cushions (I have a thing about cushions, and own more than is necessary).  There's one main reason that these cushions stood out - they look like custard creams.

Custard Cream Printed Cushion
The cushions that first got my attention Custard Cream Cushions £29.50 Etsy
I couldn't help looking at the shop where they came from, and that's where I discovered a whole array of other treats which were inspired by 'a lifelong love of having a nice cup of tea and a biscuit.'

Image of Wooden Malted Milk Brooch
Malted Milk wooden brooch £6 Nikki McWilliams
Nikki graduated with a degree in fine art and in 2009 set up her own business to make textiles for people to use in their everyday life. She makes a range of biscuity products including brooches, pocket mirrors, gift wrap and is 'proud to print every one of my cushions by hand'. I love the modern, quirky patterns that are unique coupled with the simple, traditional shapes of the objects which I think makes them fit into a variety of settings. Nikki herself sees her work as 'bright & playful with an attention to detail and quality that’s made to last.'

Image of Biscuits Sticky Tape - Yellow
 Biscuits Sticky Tape - Yellow £6 Nikki Mcwilliams
The thing I like most about Nikki's range is there is a great selection of different biscuits. Everyone has their favourite so it's easy to pick a present (for someone else or yourself!) that feels personal and fun, and as Nikki says, 'it's so important to be surrounded by objects in your home that make you smile'.  

Tunnock's Teacake Screen-Printed Cushion
One of my favourite biscuits - Tunnock Teacake Screen Printed Cushion £29.50 Etsy
I also love the way that Nikki's work represents British culture. Britain seems to be synonymous with tea and biscuits and these products are a great way to celebrate that. And although I don't like tea (a fact that nearly made my brother's American girlfriend fall off her chair when I revealed it), there's always room for a lovely biscuit with whatever I'm drinking!

To see more of Nikki's gorgeous work, visit her shops:


Thursday, 1 August 2013

It's Yorkshire Day!

The 1st of August is officially Yorkshire Day and as someone born and bred here (Sheffield to be exact) I thought I'd celebrate. It originated in 1975 and continues to this day marking all things to do with the UK's largest county.
Yorkshire rose.svg
The white rose of Yorkshire
                                                      
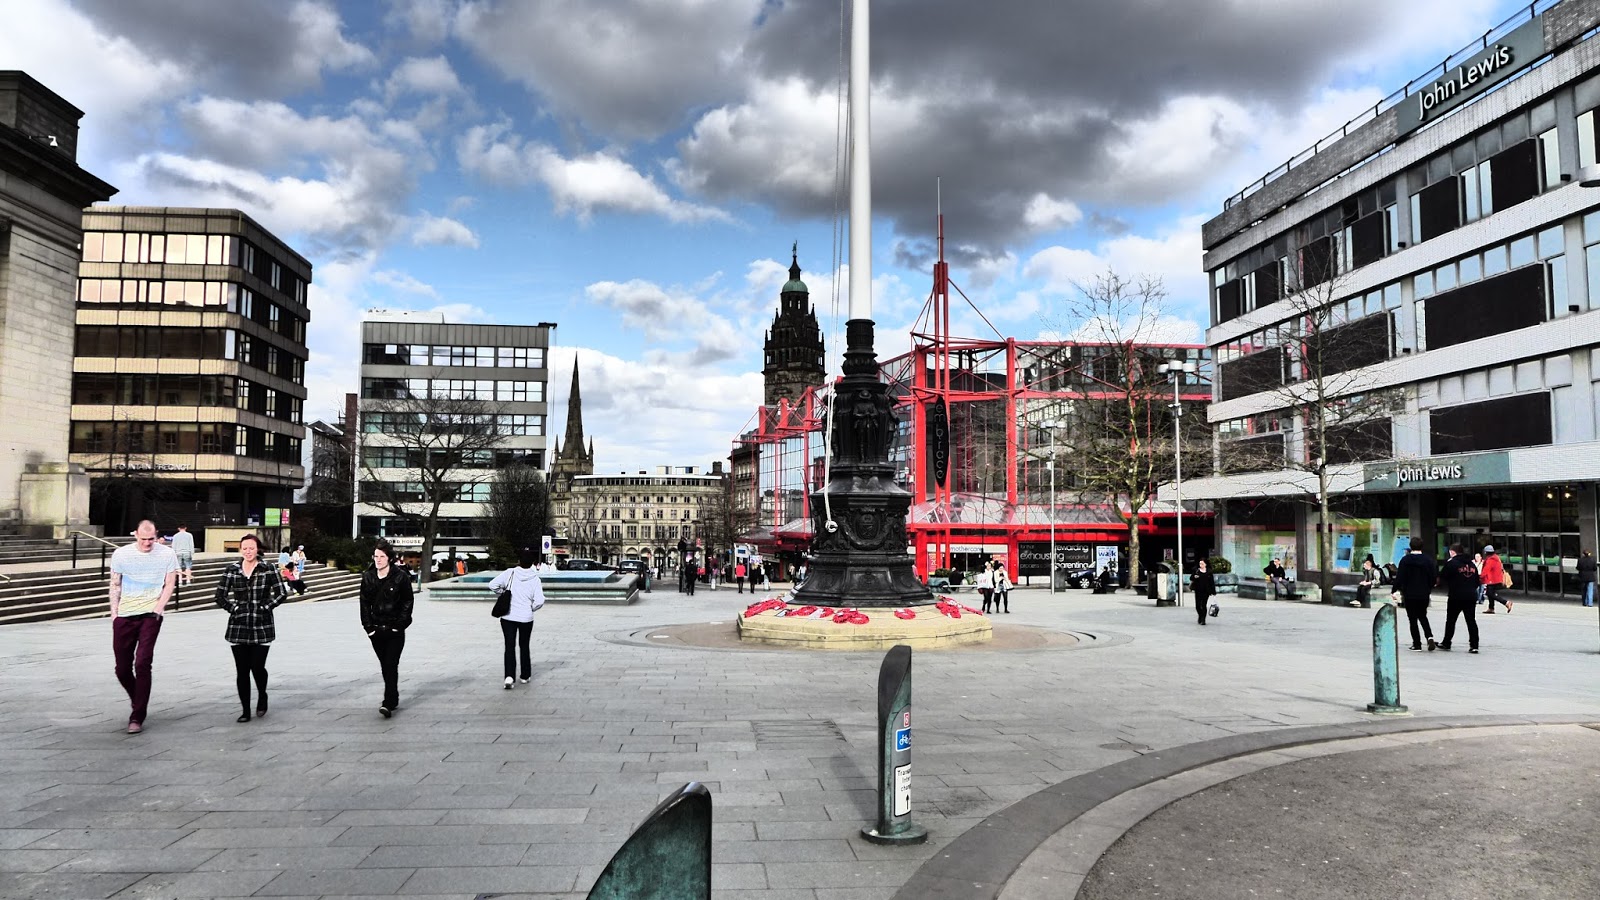
Sheffield city centre - taken by my friend Marion using her fancier than mine camera!

My Yorkshire Pudding Recipe

Yorkshire pudding is one of the first recipes I remember making.  We ate it quite regularly and it's quite easy to make so I think this is why I was trusted with it when I was little! I've tried different variations over the years and this is a mixture of elements of these that never fails to rise. 

Ingredients - Makes 1 big or 8 small puddings
2 eggs
180ml milk
salt and pepper
20ml oil (sunflower, vegetable or olive)
125g plain flour
30ml really cold water
Baking dish approx 20cm square or a muffin tin

Method
1. Pre-heat the oven to 230C (440F).

2. Break the eggs into a bowl, add the milk and whisk until they start to go frothy.  Add some salt and pepper to taste.  Leave the mixture to stand while the oven heats up.

3. Add about 1/2 teaspoon (2.5ml) of oil into 8 of the holes in the muffin tin or into the baking dish. Put this into the oven to heat up while waiting for the egg and milk mixture.

4. Next add the flour to the egg and milk mixture and stir until well mixed.  It should be of a consistency that when you dribble some of the mixture from a spoon into the bowl the pattern you make stays for a few seconds on top of the rest of the mixture.  If it's too thick add a little more milk.

5. Add a bit of really cold water, about 3 tablespoons (30ml). This is a trick my mum swears makes it rise!

6. Carefully remove the baking dish or muffin tin from the oven.  Pour the mixture into the dish or divide the mixture between the 8 holes with oil in them.

7. Put the dish/tin back in the oven and cook for 20-25 minutes until they have risen and are golden brown.

Etsy Yorkshire Team Favourites

I'm a member of the Etsy Yorkshire team on Etsy.com and these are some of my favourite items made by other members. We're very talented here in Yorkshire!

Ice-cream Cone Earrings
Ice cream earrings by Cute And Quirky Girl - cute and quirky indeed!


Owlways and forever
Owl print by Peanut n Jellybean - just adorable!
Decorative Throw Pillows Cushions Pair, Green Birds Linen Handmade in UK
Throw cushions by While Loki Dreams - I love the colours and the bird pattern.
Rosie the red teddy bear with cute neck scarf
Mohair teddy bear by Strawberry Kitten - a stunning little bear.
Jaffa Cake Brooch
Felt Jaffa Cake brooch by The Ladybird Tree - I can't resist a Jaffa Cake!
                                                                                        

Yorkshire photos taken by Marion (with her fancy camera...) 

The very picturesque Robin Hood's Bay in North Yorkshire

Yorkshire is known as the greenest county and Sheffield the greenest city.  This view from High Bradfield shows why.
Inside Kelham Island Museum which shows Sheffield's industrial past. 

Historical buildings on The Shambles in the centre of York. Some of these date back to the 14th century.